You are definitely going to need these
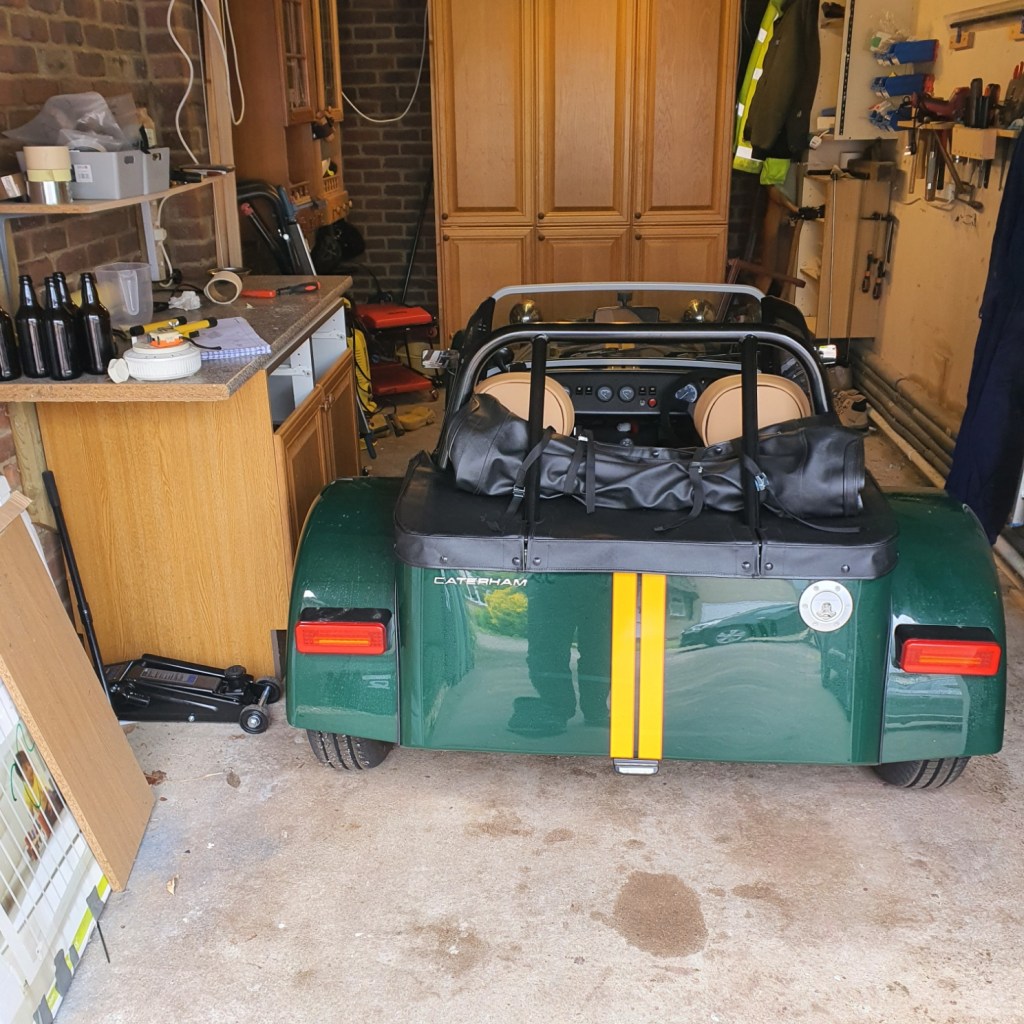
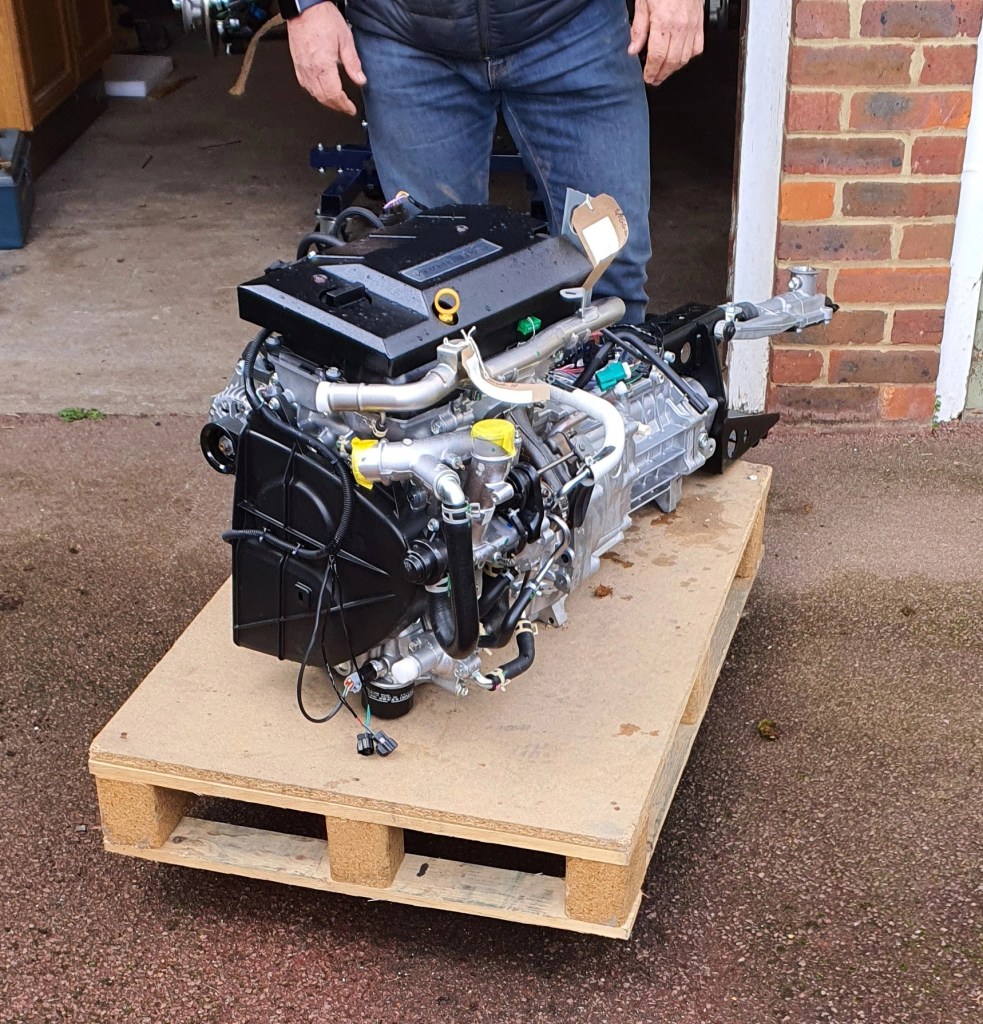
- A garage (obviously). I built mine in a single garage – nominally 2.6m wide but 2.1m wide at the narrowest at the workbench (see below). With the mobile axle stands, this was fine. For the early stages, before the wheel arches go on, there was plenty of room. There wasn’t room in the garage for all the parts so all the delivery boxes were in the house initially and the engine sat in a closed off external alcove with a tarpaulin over.
- A download of the Assembly Guide – The hard copy of the guide is useful because you can scribble all over it as you go, noting when you have tightened things up etc. At A3 size, which Caterham provided, its pretty readable but I did find that I scrutinised the digital version occasionally. As it has been drawn in CAD, you can zoom in and it gets more and more clear as you go – which sometimes can be useful to look at specific details such as washers.
- Mobile axle stands – Working in a relatively confined space was tricky but would have been impossible without the ability to move the car about to improve access (and to roll it out of the garage on the warmer days). If you have a double garage it might be possible to do everything without these but would be unnecessarily difficult. My stands gave me 500mm clearance which I found just enough to allow me easy access from below whilst lying on a creeper.
- Dolly for the engine (the engine is bulky and heavy so I needed something to allow me to easily move it out of the way. Got one from B&Q. Useful around the house in any event)
- Socket set (I went for the Halfords Advanced 100 Piece which included Allen keys).
- Combination (ratchet ring and open-ended) spanners (Halfords)
- Torque wrench (Halfords) – needs to go up to 81 Nm
- 3/8ths to 1/2 inch drive (for engine mounts)
- Creeper seat (I got one from Clarke which doubled up as a stool. Not essential but makes life a lot easier)
- Engine hoist (I borrowed it from Krazy Horse). There are hire companies who would do this also.
- Pop rivet gun (I got the cheapest they had at Screwfix)
- Trolley jack (this one worked well and was one of the cheaper ones I could find.)
- Seal drift 60mm ( a bit pricy given that you only need it for one job and they come as a set. I sold on mine afterwards)
- Heat gun for heat shrink etc (not essential if you are happy using a match or cigarette lighter instead)
- Dremel (not essential but speeded up cutting openings in the wings)
- Power Drill (I also used an electric screwdriver for low speed drilling through plastic)
- Drill bits (I only used metric although some of the holes are given imperial sizes in the Assembly Guide).
- Flathead screwdriver
- Junior hacksaw
- File (a flat file and a rats tail file came in useful)
- Rubber Mallet (really useful)
- Pozidrive screwdriver (I have an electric one but found that to be not suitable for the self-tapping screws – burred a lot of screw heads trying to fix the panels in the foot well)
- Mole wrench (effectively, another pair of hands)
- Long nose pliers
- Side cutters (mostly for trimming cable ties and some of the IVA trim)
- Silicone gun (for the power adhesive that holds on the front wings)
- Stanley knife (make sure you have lots of blades)
- Funnel with offcut of garden hose attached (to get the oil into the back axle – a lot cheaper than buying a oil syringe)
- Tape measure
- Scissors
- Magnetic parts bowl (not essential but useful to have a ‘place to put things’)
- Spirit level
Consumables
- Copper grease (but you dont need much)
- Latex gloves (really useful)
- Grease (but you dont need much)
- Instant gasket (for the back axle – you dont need much)
- Loctite 243
- Masking tape
- Power adhesive (this is supplied – although mine was missing and got sent on later)
- Spray adhesive (for fixing the carpets)
- Spray lube (for making rubber things slide – useful)
- Super glue (essential)
- WD40 (essential as a lubricant but also useful for removing excess adhesive)
Not enough of these so needed some extra
As these were pretty cheap I just got them from Amazon instead of waiting for Caterham to get them to me. I got through quite a few grommets trying to sort the cable penetration through the wing supports.
- P Clips
- Grommets
- heat shrink
Other things I found useful
Digital calipers. I found this really handy to checking dimensions of smaller items (bolt and drill diameters for example). I bought a really cheap plastic one which was good enough.
Overalls. Lots of opportunities to get grease, adhesives etc on your clothes. And they helped me keep warm.
Helicopter Tape – Have put this on for protection around the poppers on the boot, on the top of the boot underneath the folded roof bars and around the bonnet fixings. Over the subsequent years, I have put helicopter tape in other areas around the cockpit when I could see that there was some wear resulting from me getting in and out from the car.
Worktop with vice – I found having somewhere to lay stuff out (along with the Assembly Guide) really useful. The vice was handy from time to time.
Head Torch – I actually bought a cheap LED inspection light from Screwfix but found it was too bright and always seem to dazzle me. A small head torch was much more effective.
I didn’t need, even though it is mentioned in the Assembly Guide
- Sanding drum (didn’t need this – used very rough sandpaper and elbow grease)
- Silicone sealant (not required)
- Brake cleaner (didn’t bother – used WD40 or computer screen cleaner which I had lying around)
- Foam tape (never needed it, although I susequently used some to provide a good cushion for the bonnet to sit on)
- Torx screwdriver
- Hose cutters ( a junior hacksaw worked well for this.)

Leave a comment