Time spent: 6h
Culmulative time: 47h
Main activities: Engine install
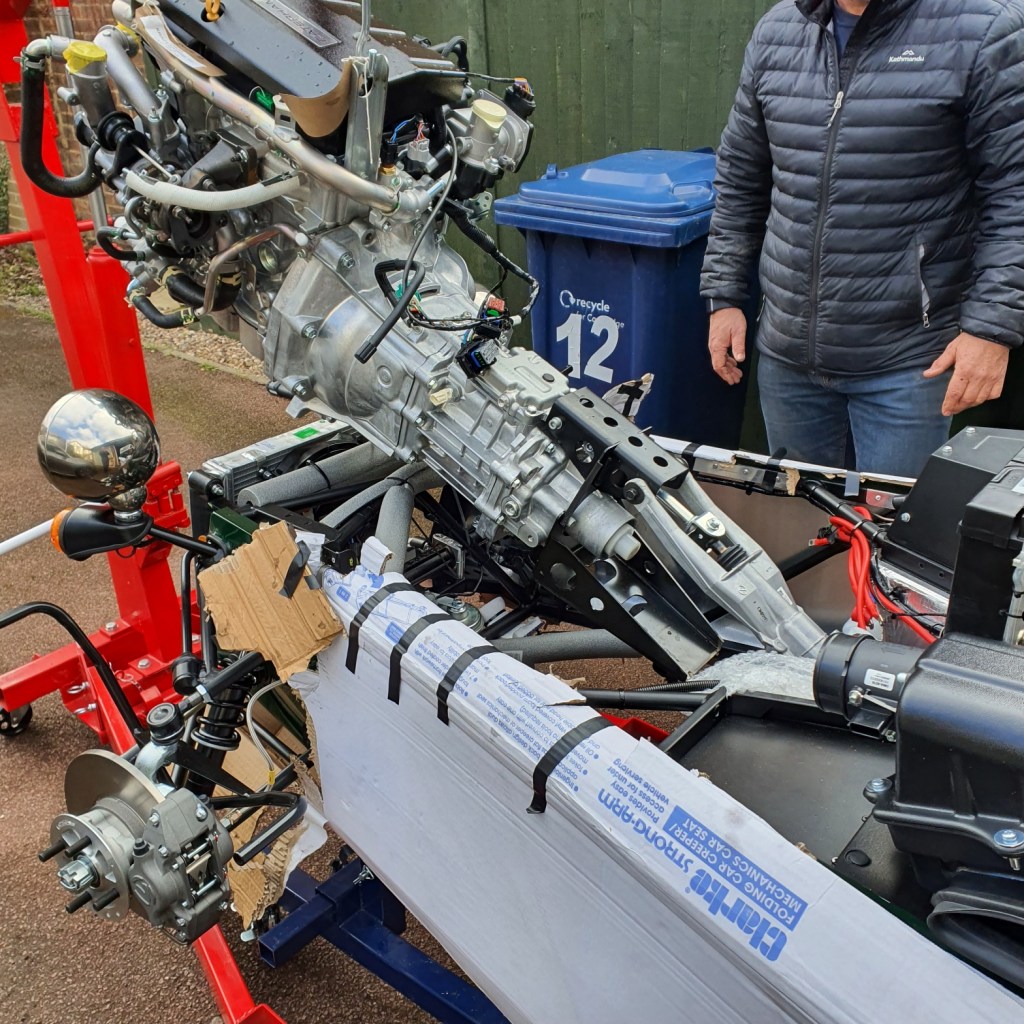
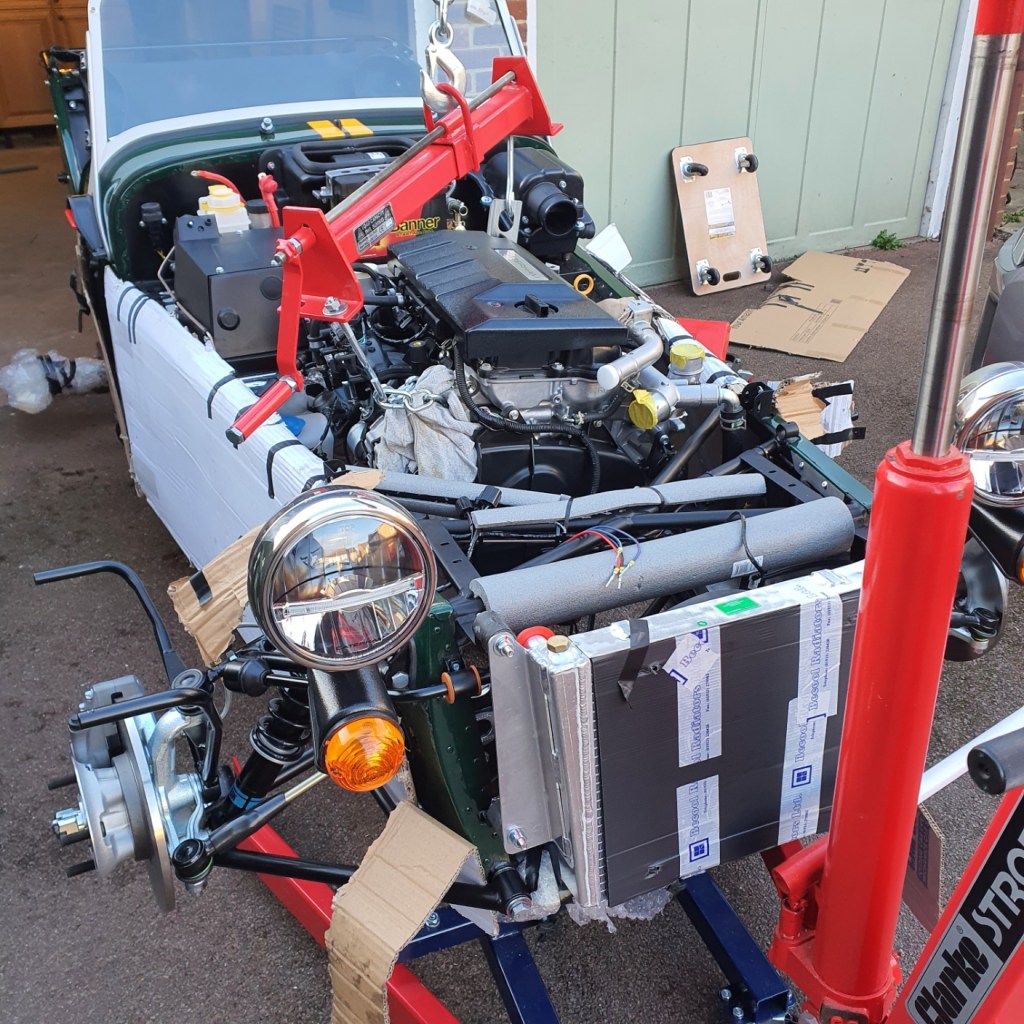
Having realised that the fixings I need for the engine mounts were actually fixed to the engine, I decided to get stuck into installing the engine into the car. I had two helpers and they were really useful – would have been very difficult with just one helper.
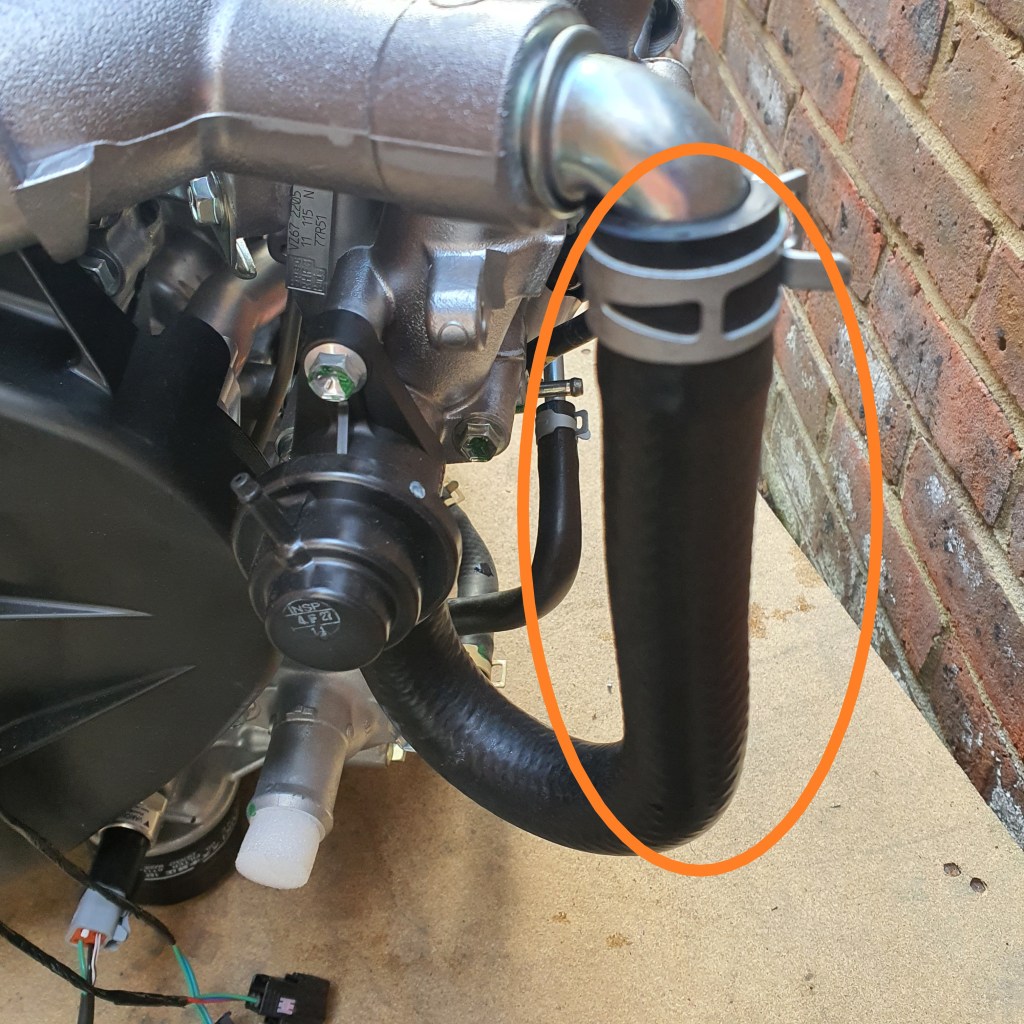
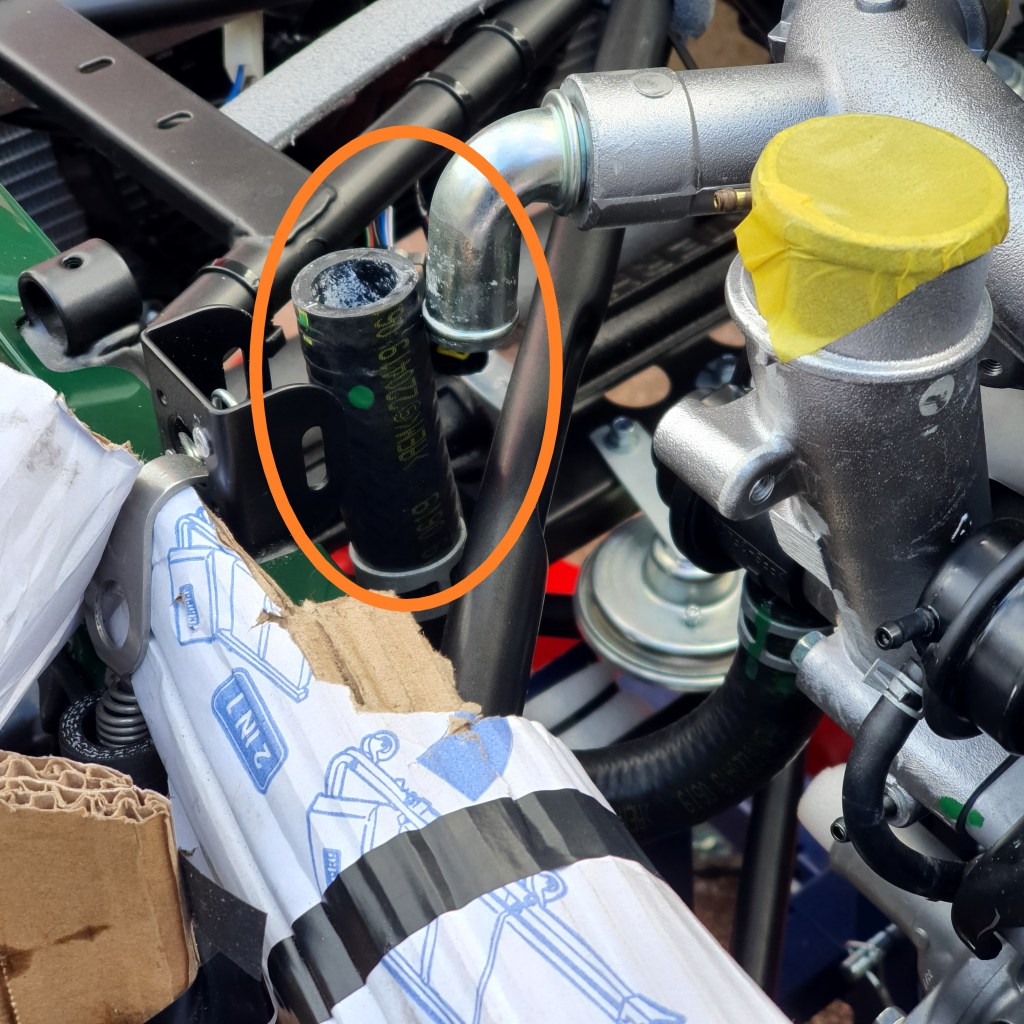
The Assembly Guide indicates that you need to remove something from the front of the engine, but I am pretty sure the component it highlights is incorrect. There is a section of hose at the front LHS that needs to loop around the chassis framework so it is this that has to be removed first and then re-connected.
The engine is a very tight fit and we took quite a while to get things to align. Our first big mistake was to lower the engine too far – this becoming instantly obvious when I tried to install the engine support brackets but the engine crane did its job of allowing us to raise and lower the block to suit. The jack, which was supporting the gearbox end, was also essential to the process.
We didn’t have enough headroom in the garage to do the job in-situ so had to trundle the car out into the open air for this process. We also had to change the wheel spacing on the front axle stand because the wheels were clashing with the engine crane supports.
The wheeled axle stands are essential if you are trying to do the build in a single garage.

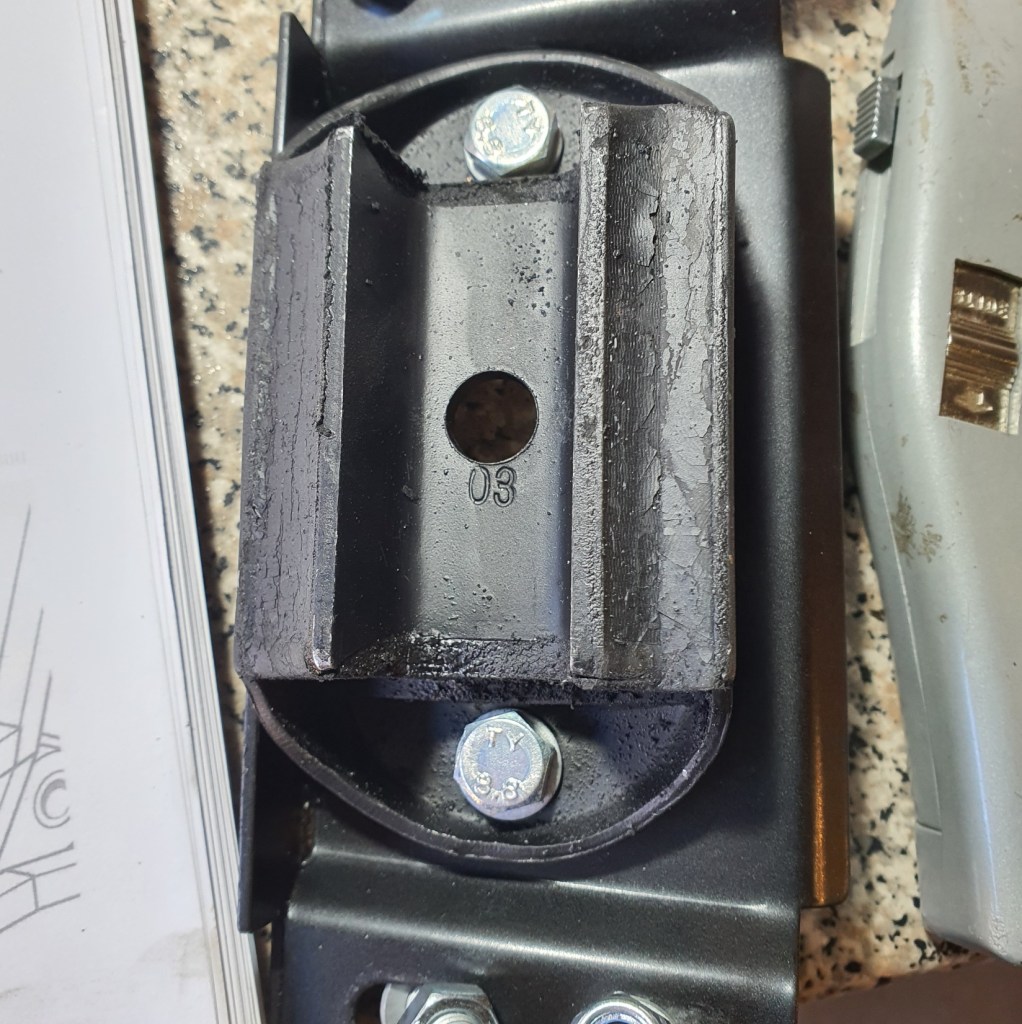
I haven’t tightened up the engine mounts yet as I am missing a 3/8th hex key for the bolts. [I ended up buying one from Heamar]. The washer that goes into the LHS engine support fixing to the rubber isolation mount didnt fit into the recess. I ended up filing it down but I see that the latest version of the Assembly Guide specifies a Schnorr washer.
Like many steps of this build, I could do it in half the time if I did it again.
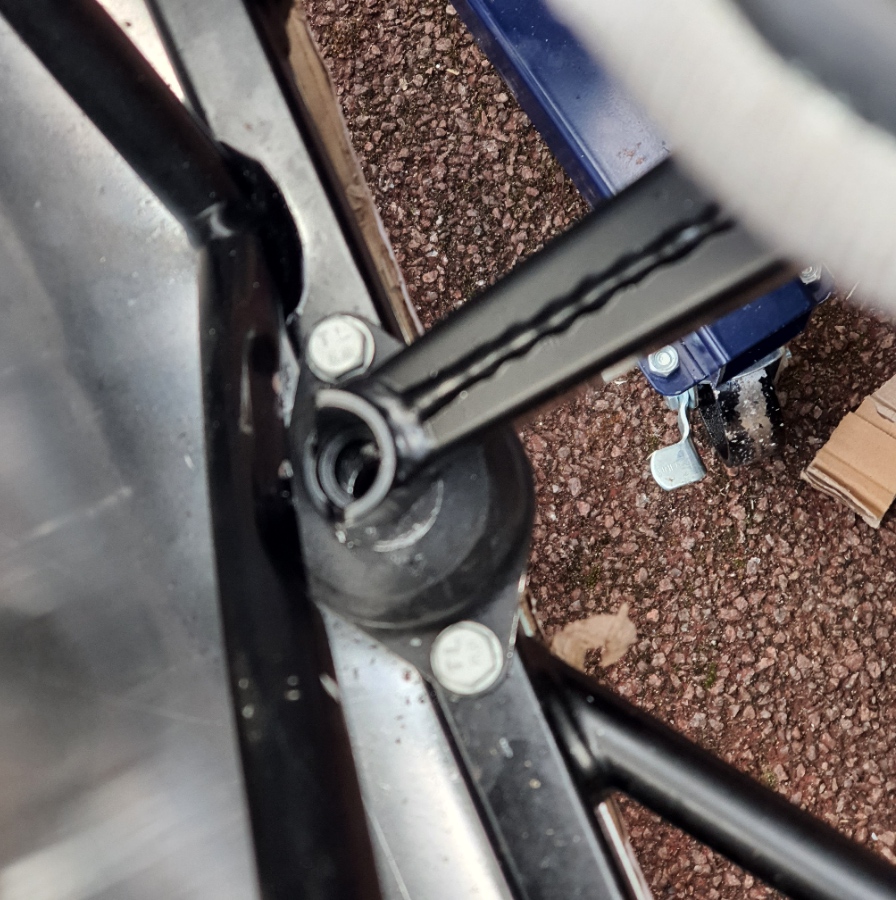
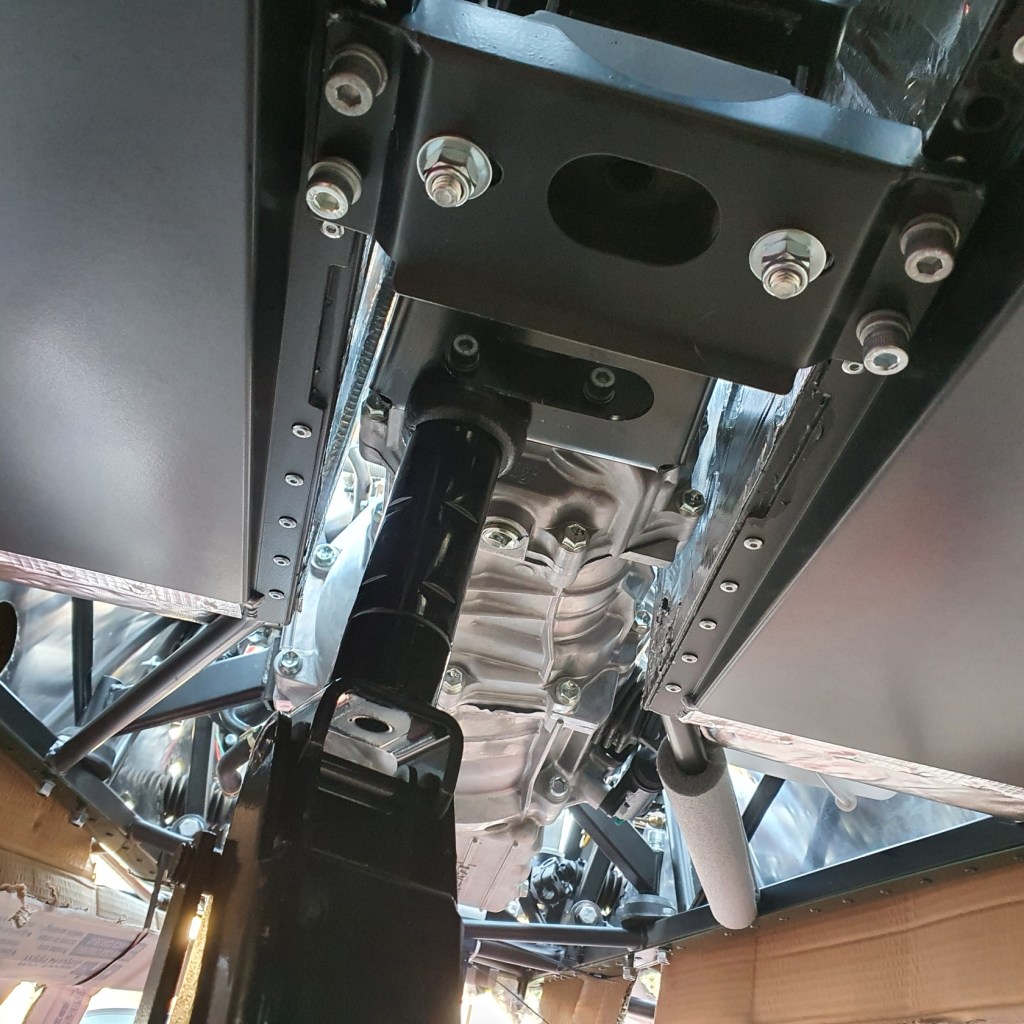
I have installed the plate that supports the gearbox but need to finish that tomorrow. The insulation around the sides of the tunnel needed to be cut away to allow me to fix the nut and washer. The plate that cradles the gearbox didn’t quite fit to the gearbox because of some overspill of rubber at the sides. I trimmed this away so it would fit.
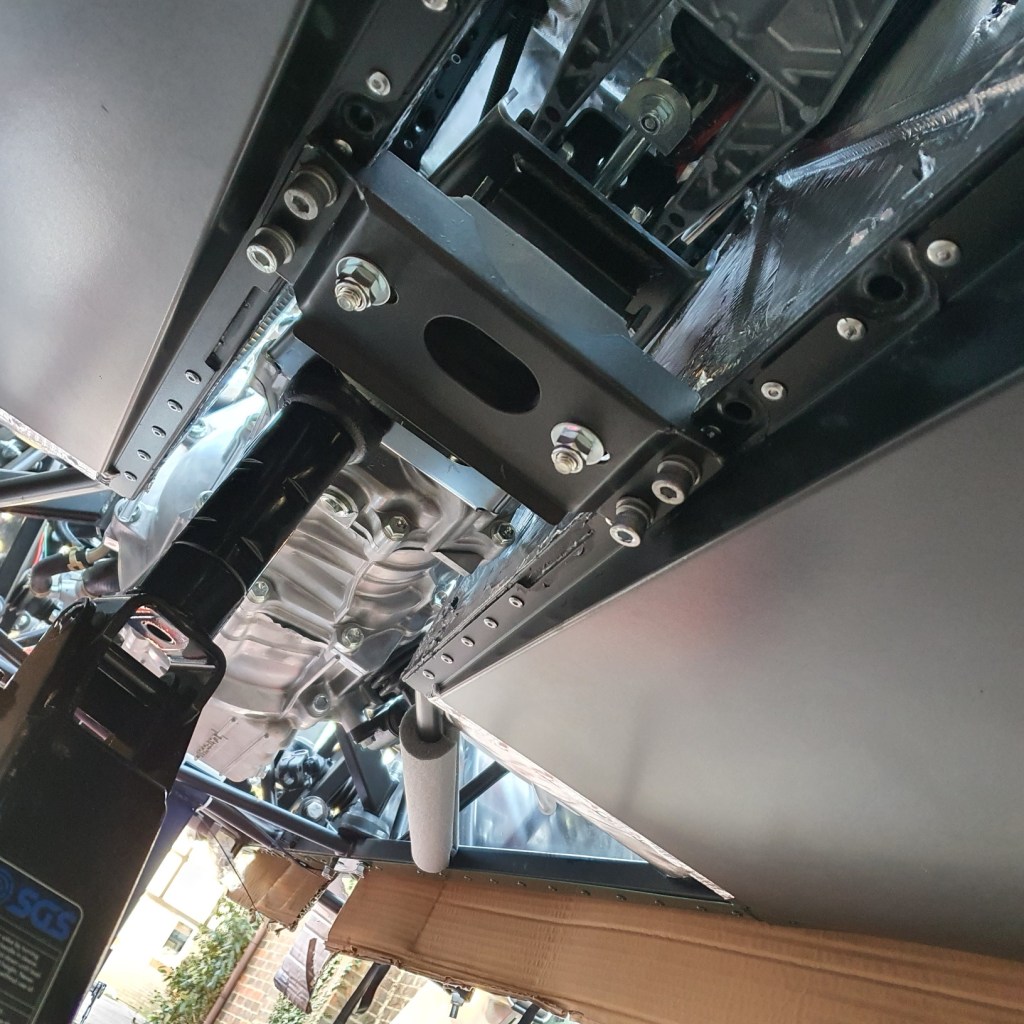
I haven’t quite got the gearbox support aligned correctly so that will need a bit of adjustment


And this is the finished product. Next job – plumbing, lots of it.

Leave a comment