Time spent: 6h
Culmulative time: 30h
Main activities: Anti Roll Bar, radiator and heater install
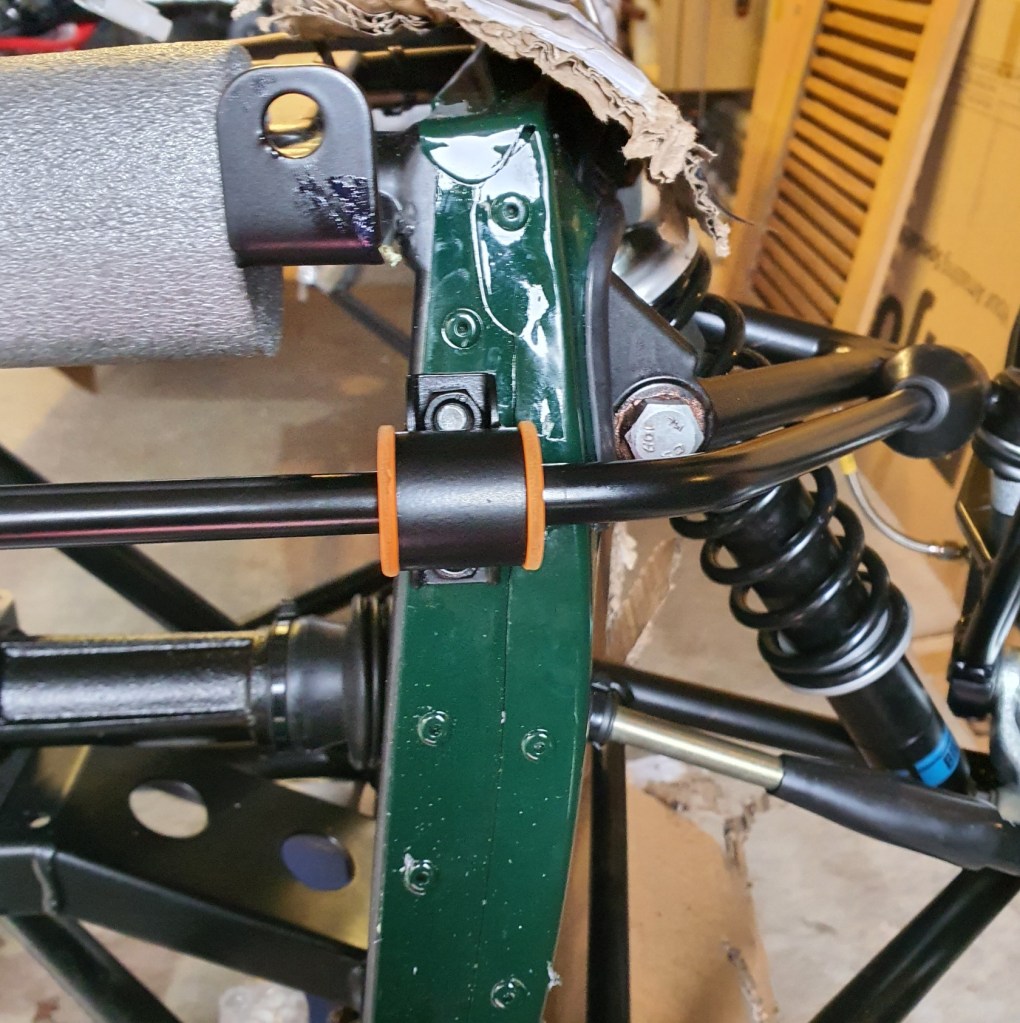
The replacement ball end for the ARB arrived whilst I was away so that was the first thing I tackled this morning. All went reasonably well – the new ball end needed filing around it’s equator which took quite a lot of trial and error (I didn’t want to overdo the filing so I took this slowly and test fitted it several times until I was sure I had taken off enough of the hard plastic).
Once this was done, it was a quick dunk into some grease, and it was actually relatively easy to get it to go into place in the two cups on the suspension where the ends fit.
The fixings for the ARB were a bit more of a fiddle because the factory painting had slightly reduced the diameter of the holes in the chassis so the bolts wouldn’t go in. The delivery guy had warned me that I would probably have to drill the holes to clear the paint which was a relatively simple job and after that, it was a simple matter of torquing things up.

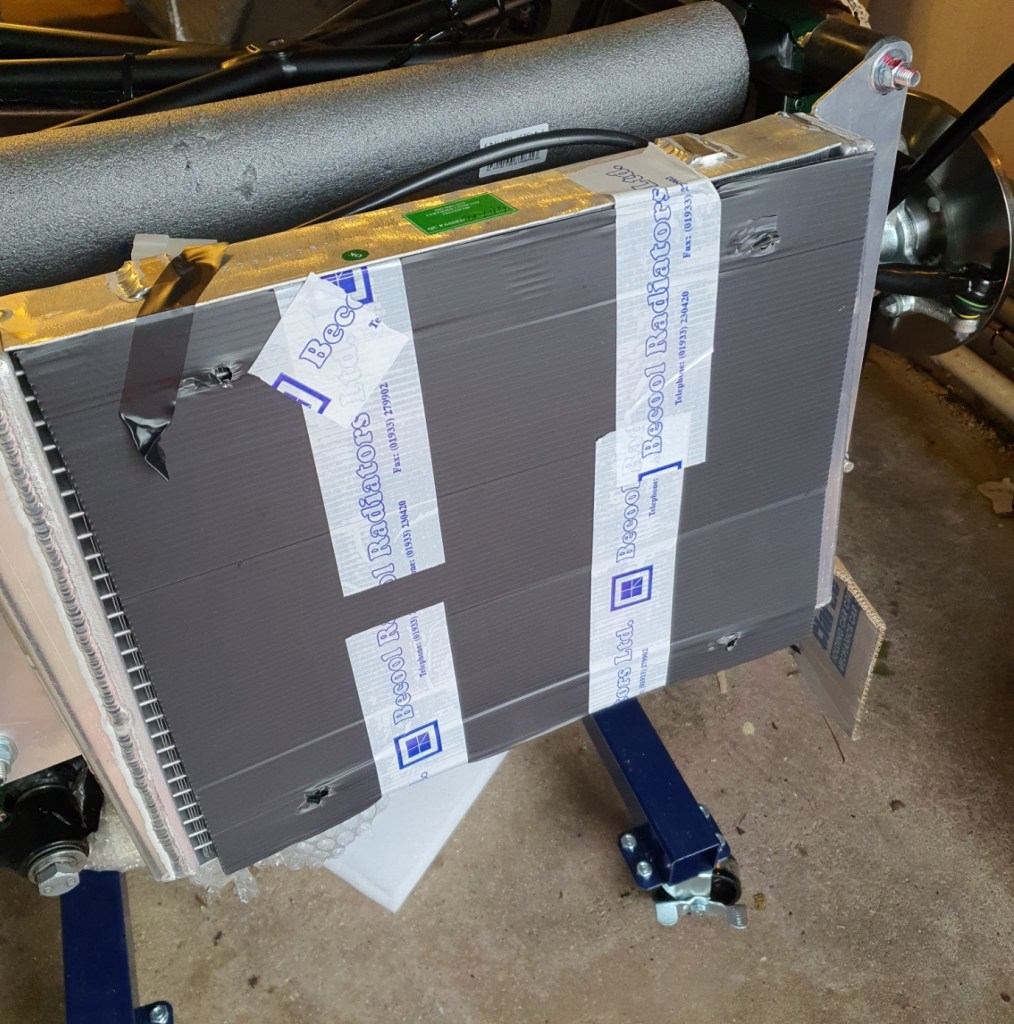
The radiator was next. I realised how easily it can get damaged so was very careful (but still managed to bend some of the fins slightly by putting it down on the binding of the Assembly Guide)
The fan has to first be fixed to the back of the radiator. This was pretty simple once I had located the separate plastic fixing brackets that go into the fan casing. I did find that the studs on the back of the radiator did not align well with the holes in the fan fixings but they could be easily re-aligned with a very light tap with the mallet to help this.
I couldn’t see anything to tell me which way up the fan is meant to go (other than the flat part of the fan surround is at the top and bottom of the radiator). In the end, I set it up with the lead to the fan nearest the top of the fan, as this would simplify making the electrical connection.
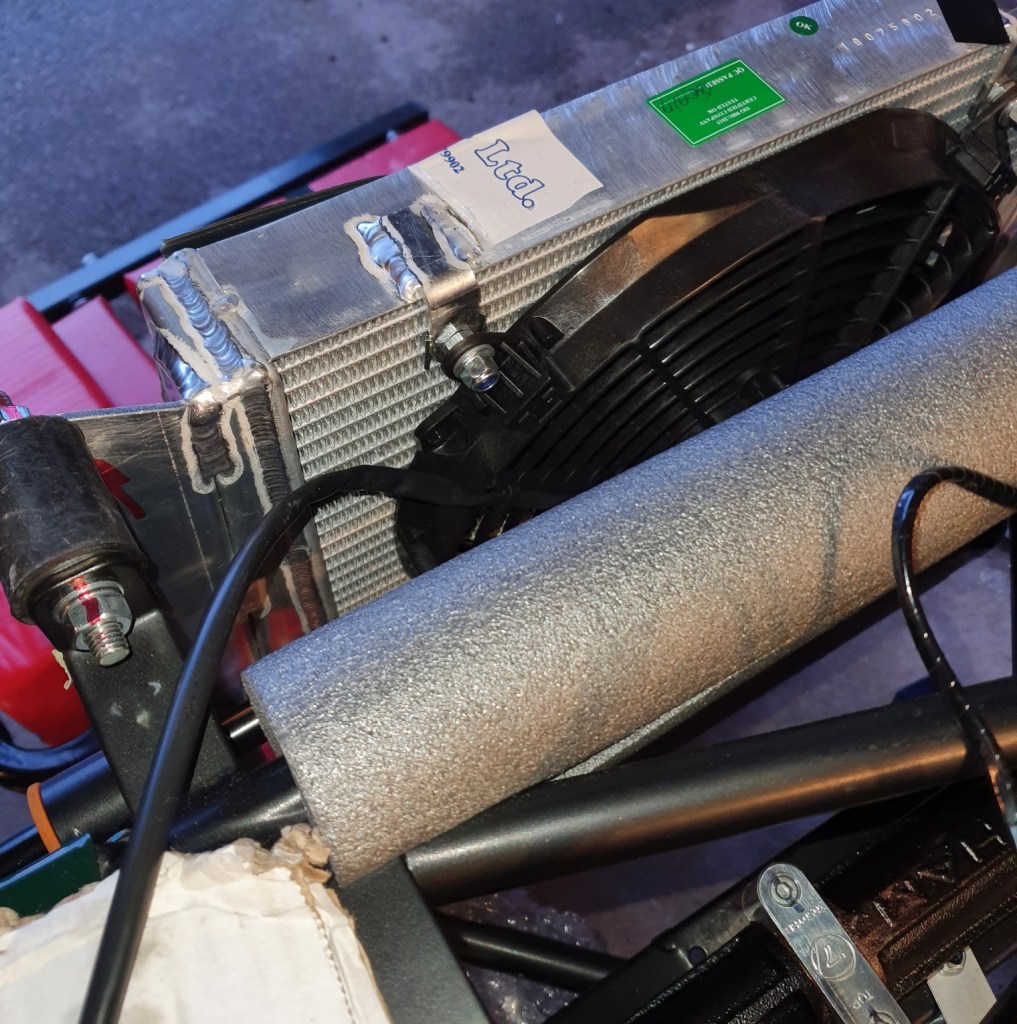
The radiator seems to be symmetrical so there doesn’t seem to be a top and bottom so either way up presumably is OK. Notice that there are different washers on the front and back fixing of the bobbin that holds the radiator in place.
The heater was much more of a fiddle. As other have noted, you have to take out the battery to do this, which was an easy job.
Then there was the grommet for the electrical connection through the bulkhead (you need to split the grommet first to get it to go around the cable). I found it easier to glue the grommet into the bulkhead with superglue as otherwise it kept dropping out when I was moving the heater around to get it to align up with the fixing holes.
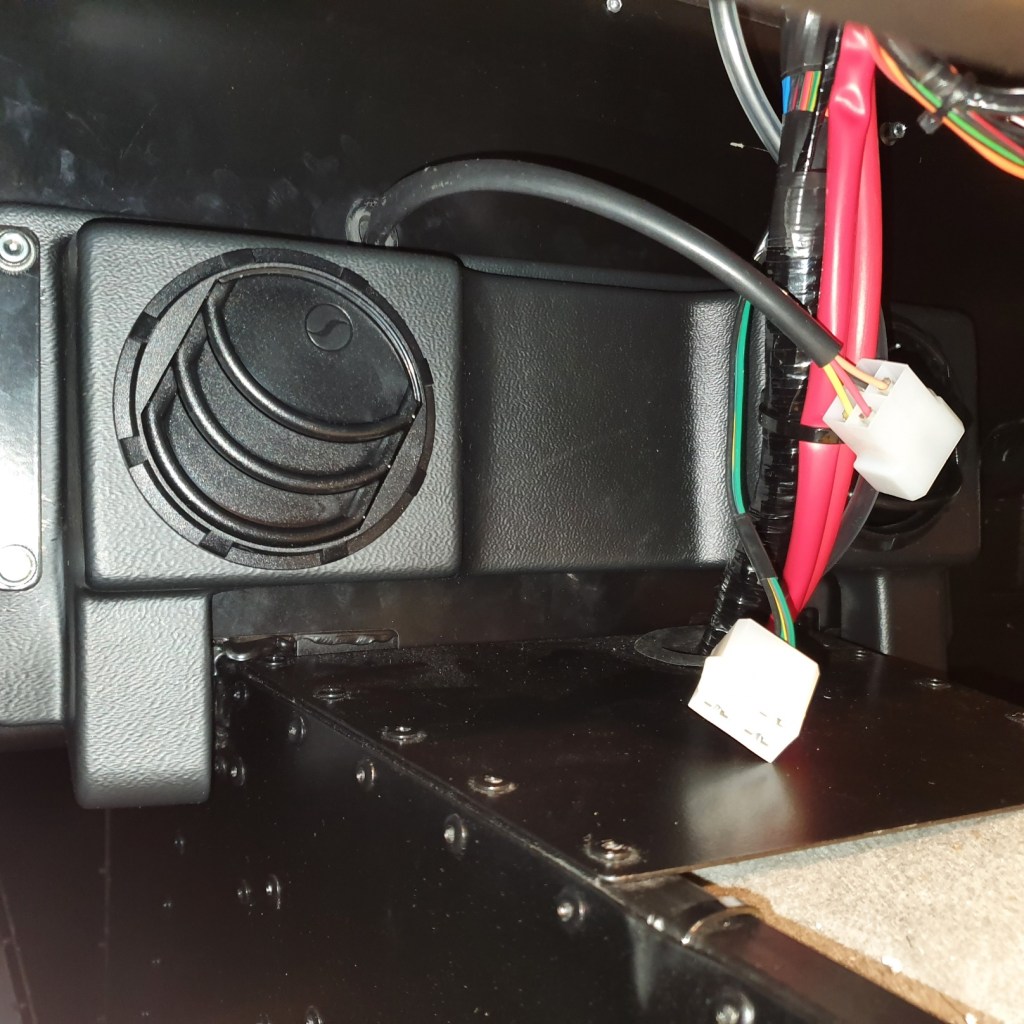

The heater vents in the cabin were are real fiddle to get in place as there is a bunch of cables in the way which are stiff and awkward to work around. I managed to get it all in place after a bit of fiddling about and then put the bolts through the bulkhead to fix the two sides of the heater assembly.
All seems OK but I did notice that there is a small lip on the bulkhead that means you cant get an airtight seal on the car side of the bulkhead. There doesn’t seem anything to fill the gap so I guess its just a matter of the air leaking out to keep your knees warm. I didn’t do the bolts up very tight as I thought the plastic might crack. Caterham confirmed that this small gap isnt a problem.
I initially thought that the heater control cable was too short. On my kit, there was a hole in the dash and I had assumed that this is where the heater control goes. Once I had fitted things together, the heater control was clearly too short. I subsequently realised that the hole in the dash is for the headlight flasher switch which for some reason wasn’t installed when the kit was delivered. [turned out this switch is best left out until after the IVA].
I ended the day with a quick call to Krazy Horse who have told me that I can borrow their engine crane. That’s really good news. And whilst I am there, we can go through the IVA test booking. I have already booked in for the post-build check in April.

Leave a comment