Time spent: 4h
Cumulative time: 13h
Main activities: Fitting the front suspension and first fixing of steering rack.
The front suspension is a bit of a fiddly job. Many of the moving parts need some copper grease to allow them to slide into place and for ongoing lubrication presumably. Despite my best efforts the grease did get onto my gloves making installing small items such as washers a bit of a fiddle because of my slippery fingers.
I need to have a bit of a clean up and get rid of the copper grease I can clearly see in the photos below. However, overall it wasn’t has bad as I had anticipated based on the reporting of others.
There was a bit of persuasion needed from the rubber mallet particularly with the lower wishbone. I found this was actually easier to install by standing inside the engine compartment. Most of the parts were easily identified although it took a rummage through the numerous un-named plastic bags of bits before I could track down the bushes that go into the rear end of the upper wishbone.

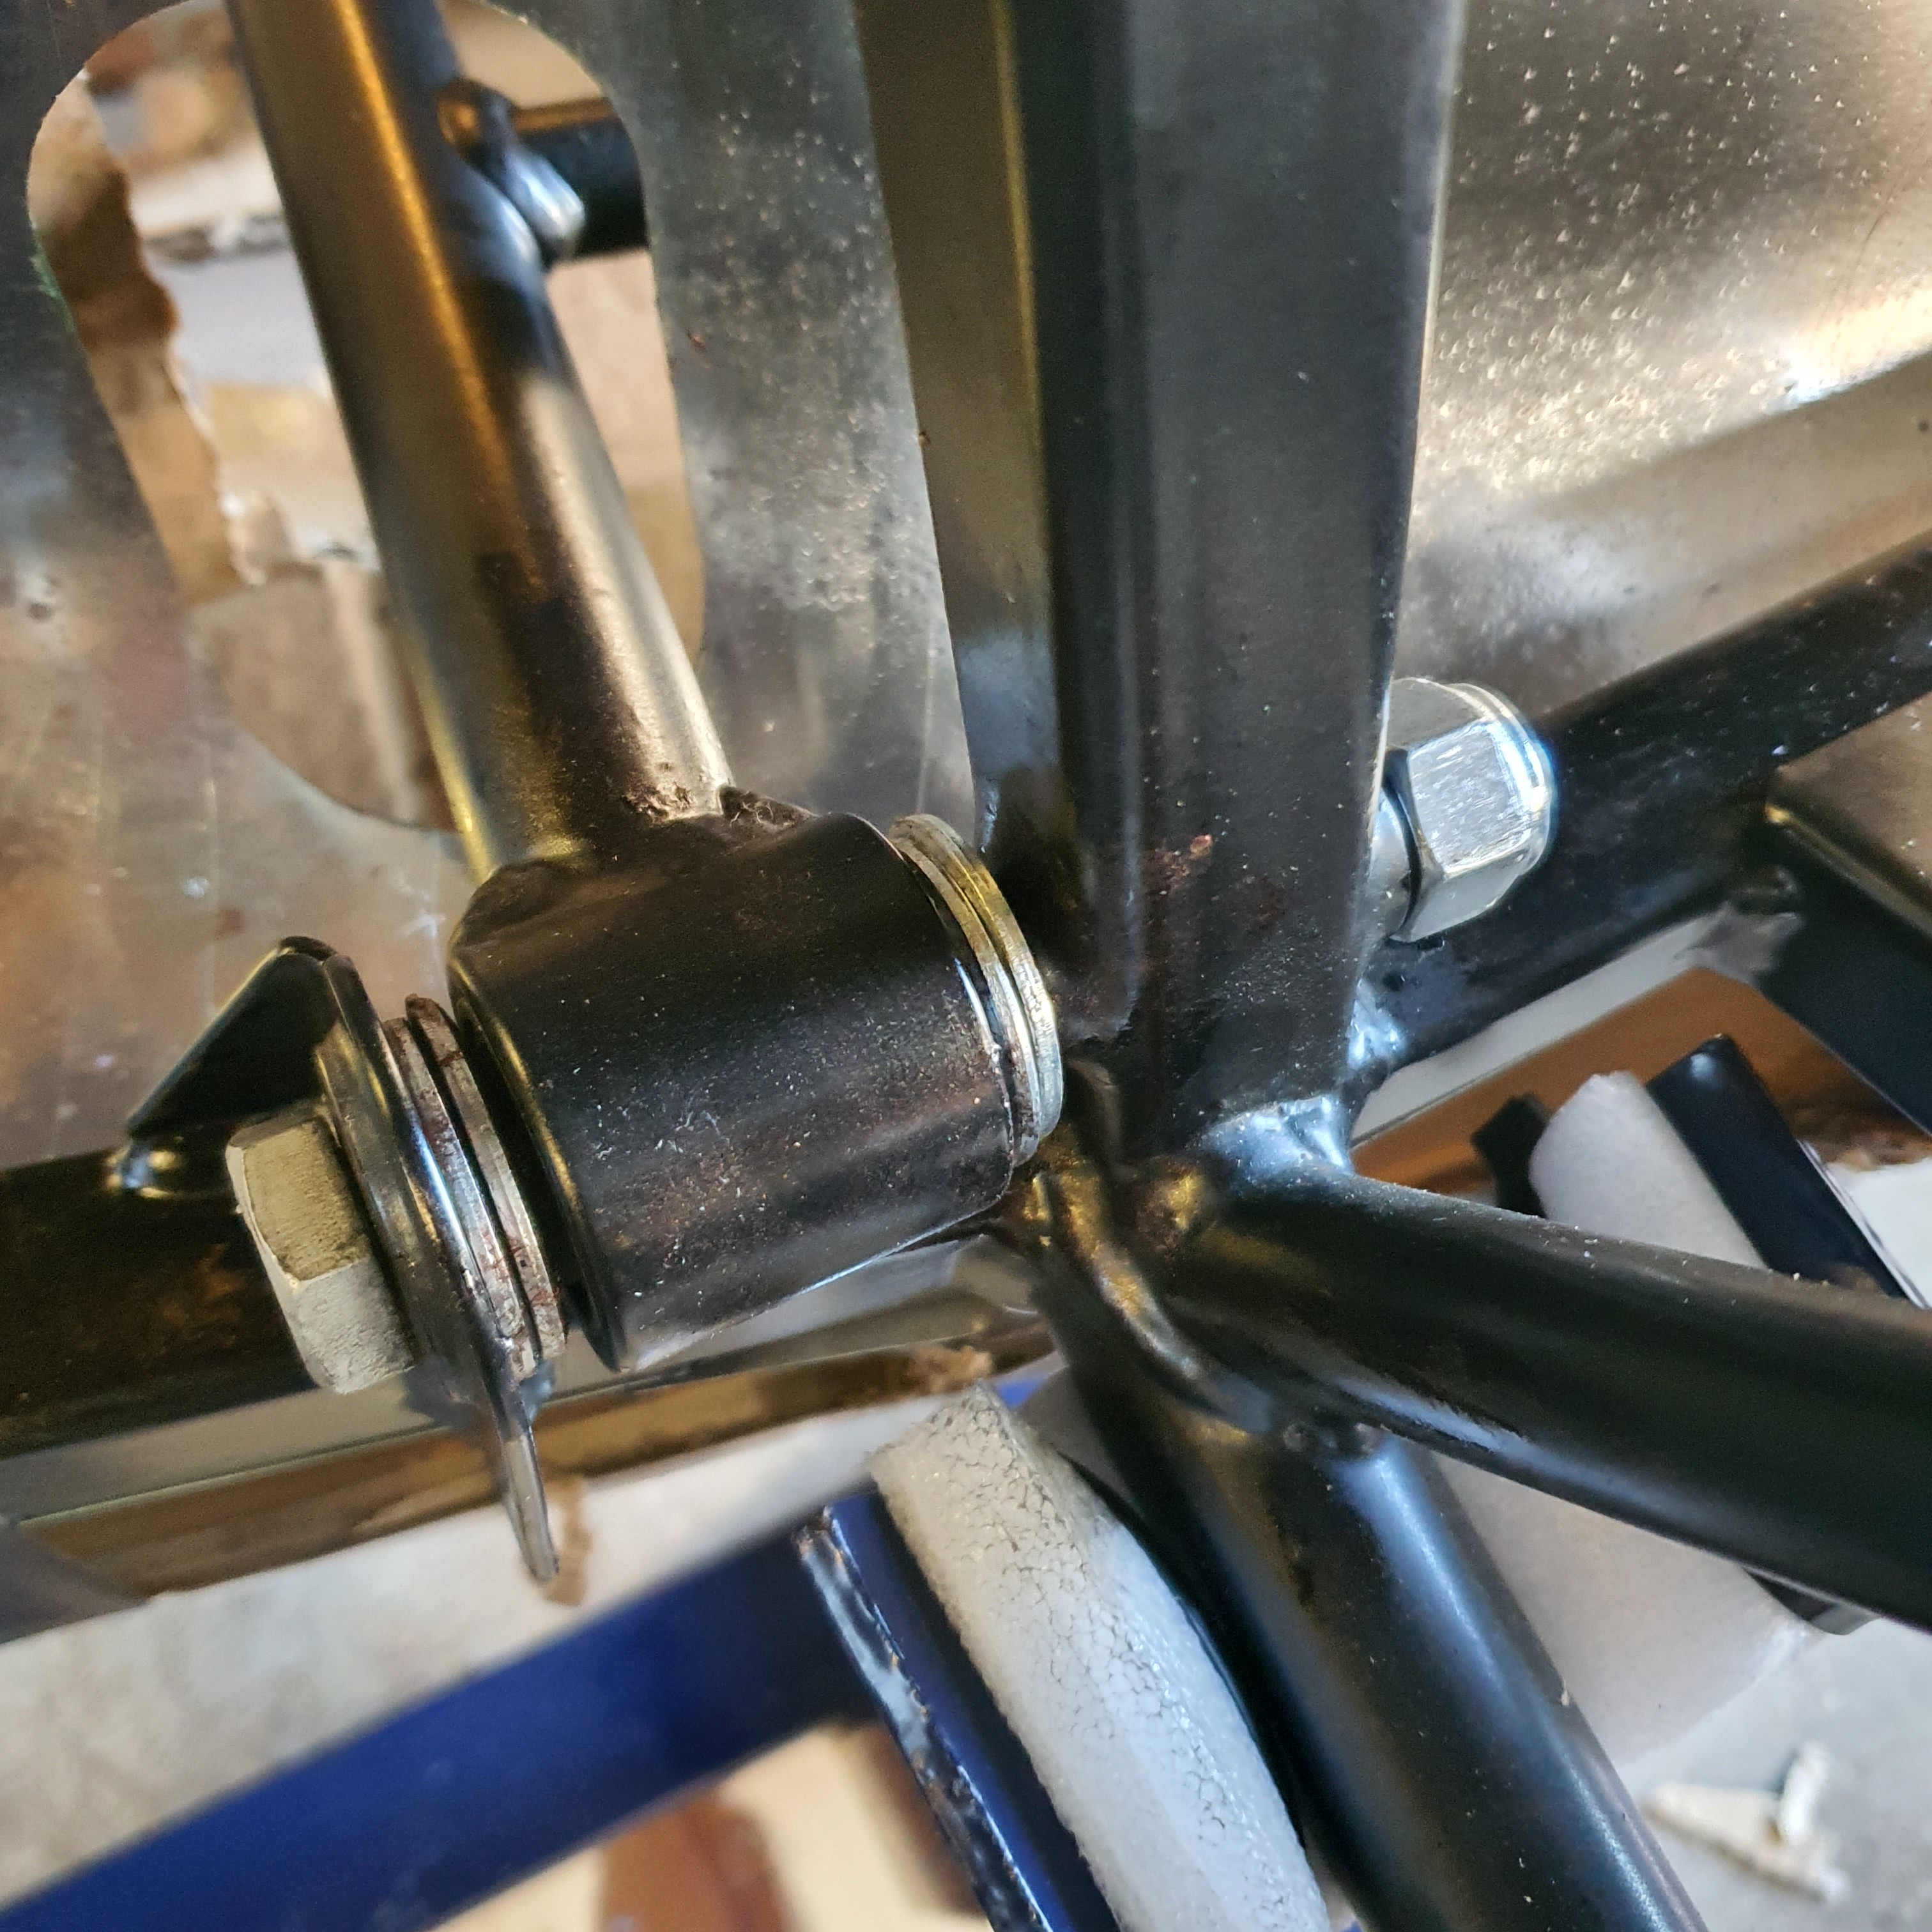
The chamfer on the washers needs to be facing the wishbone.

The bolts for the front of the lower wishbone (they screw into the front of the chassis) were difficult – I suspect some paint spray has got onto the threads. Desperate to avoid crossing a thread, I ran a 12mm tap into the hole to clean up the threads before I fitted the bolts.
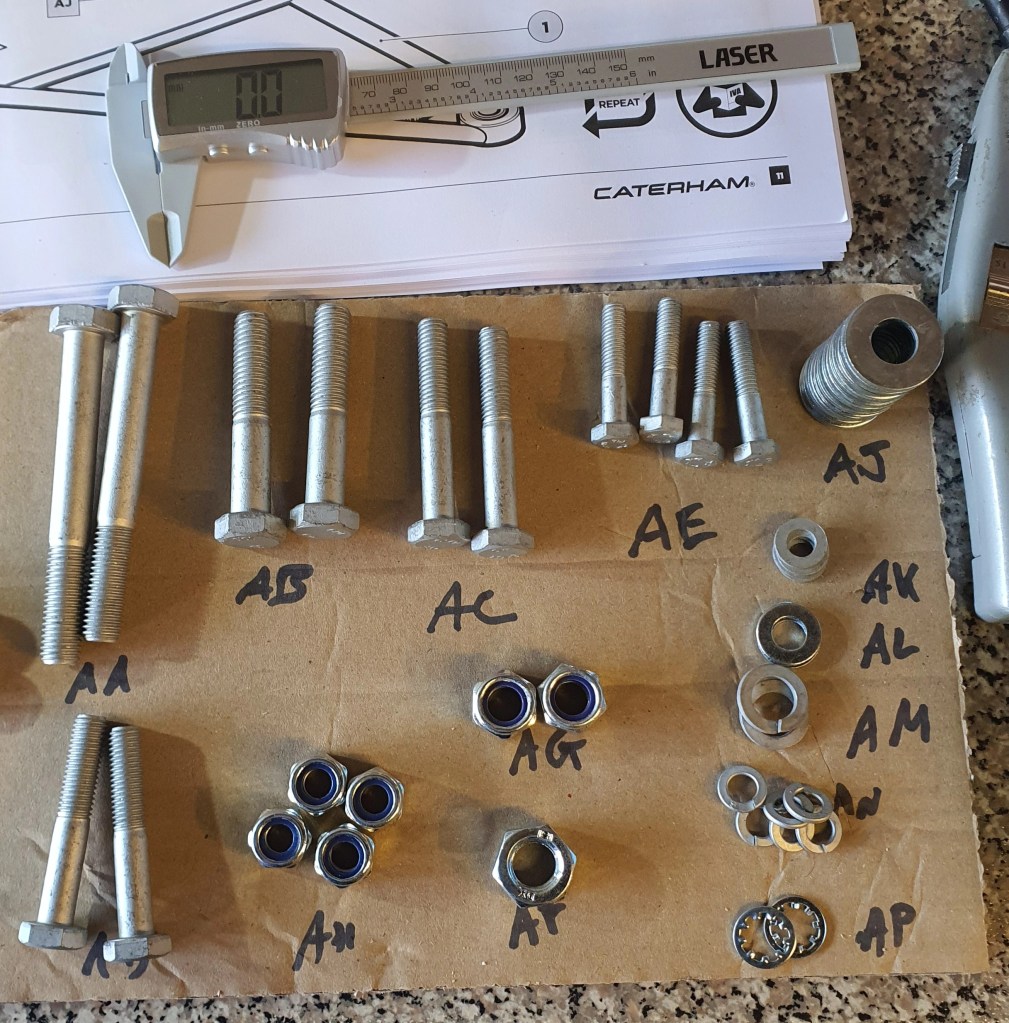
The cardboard sleeve inside the large part bags makes an excellent surface for sorting out and naming all the different nuts and bolts. I was reminded that metric nyloc nuts are blue and imperial are white which helped identify some of the nuts. Almost everything is metric but for some reason, there are the odd imperial fittings to deal with. The calipers were useful to help identify sizes of bolts etc.
I haven’t torqued anything up yet as this is apparently best left until the car is off the stands and everything settles into its natural position. Also, the upper wishbone bolts are left loose as these have to come out in order to fix the headlight supports.
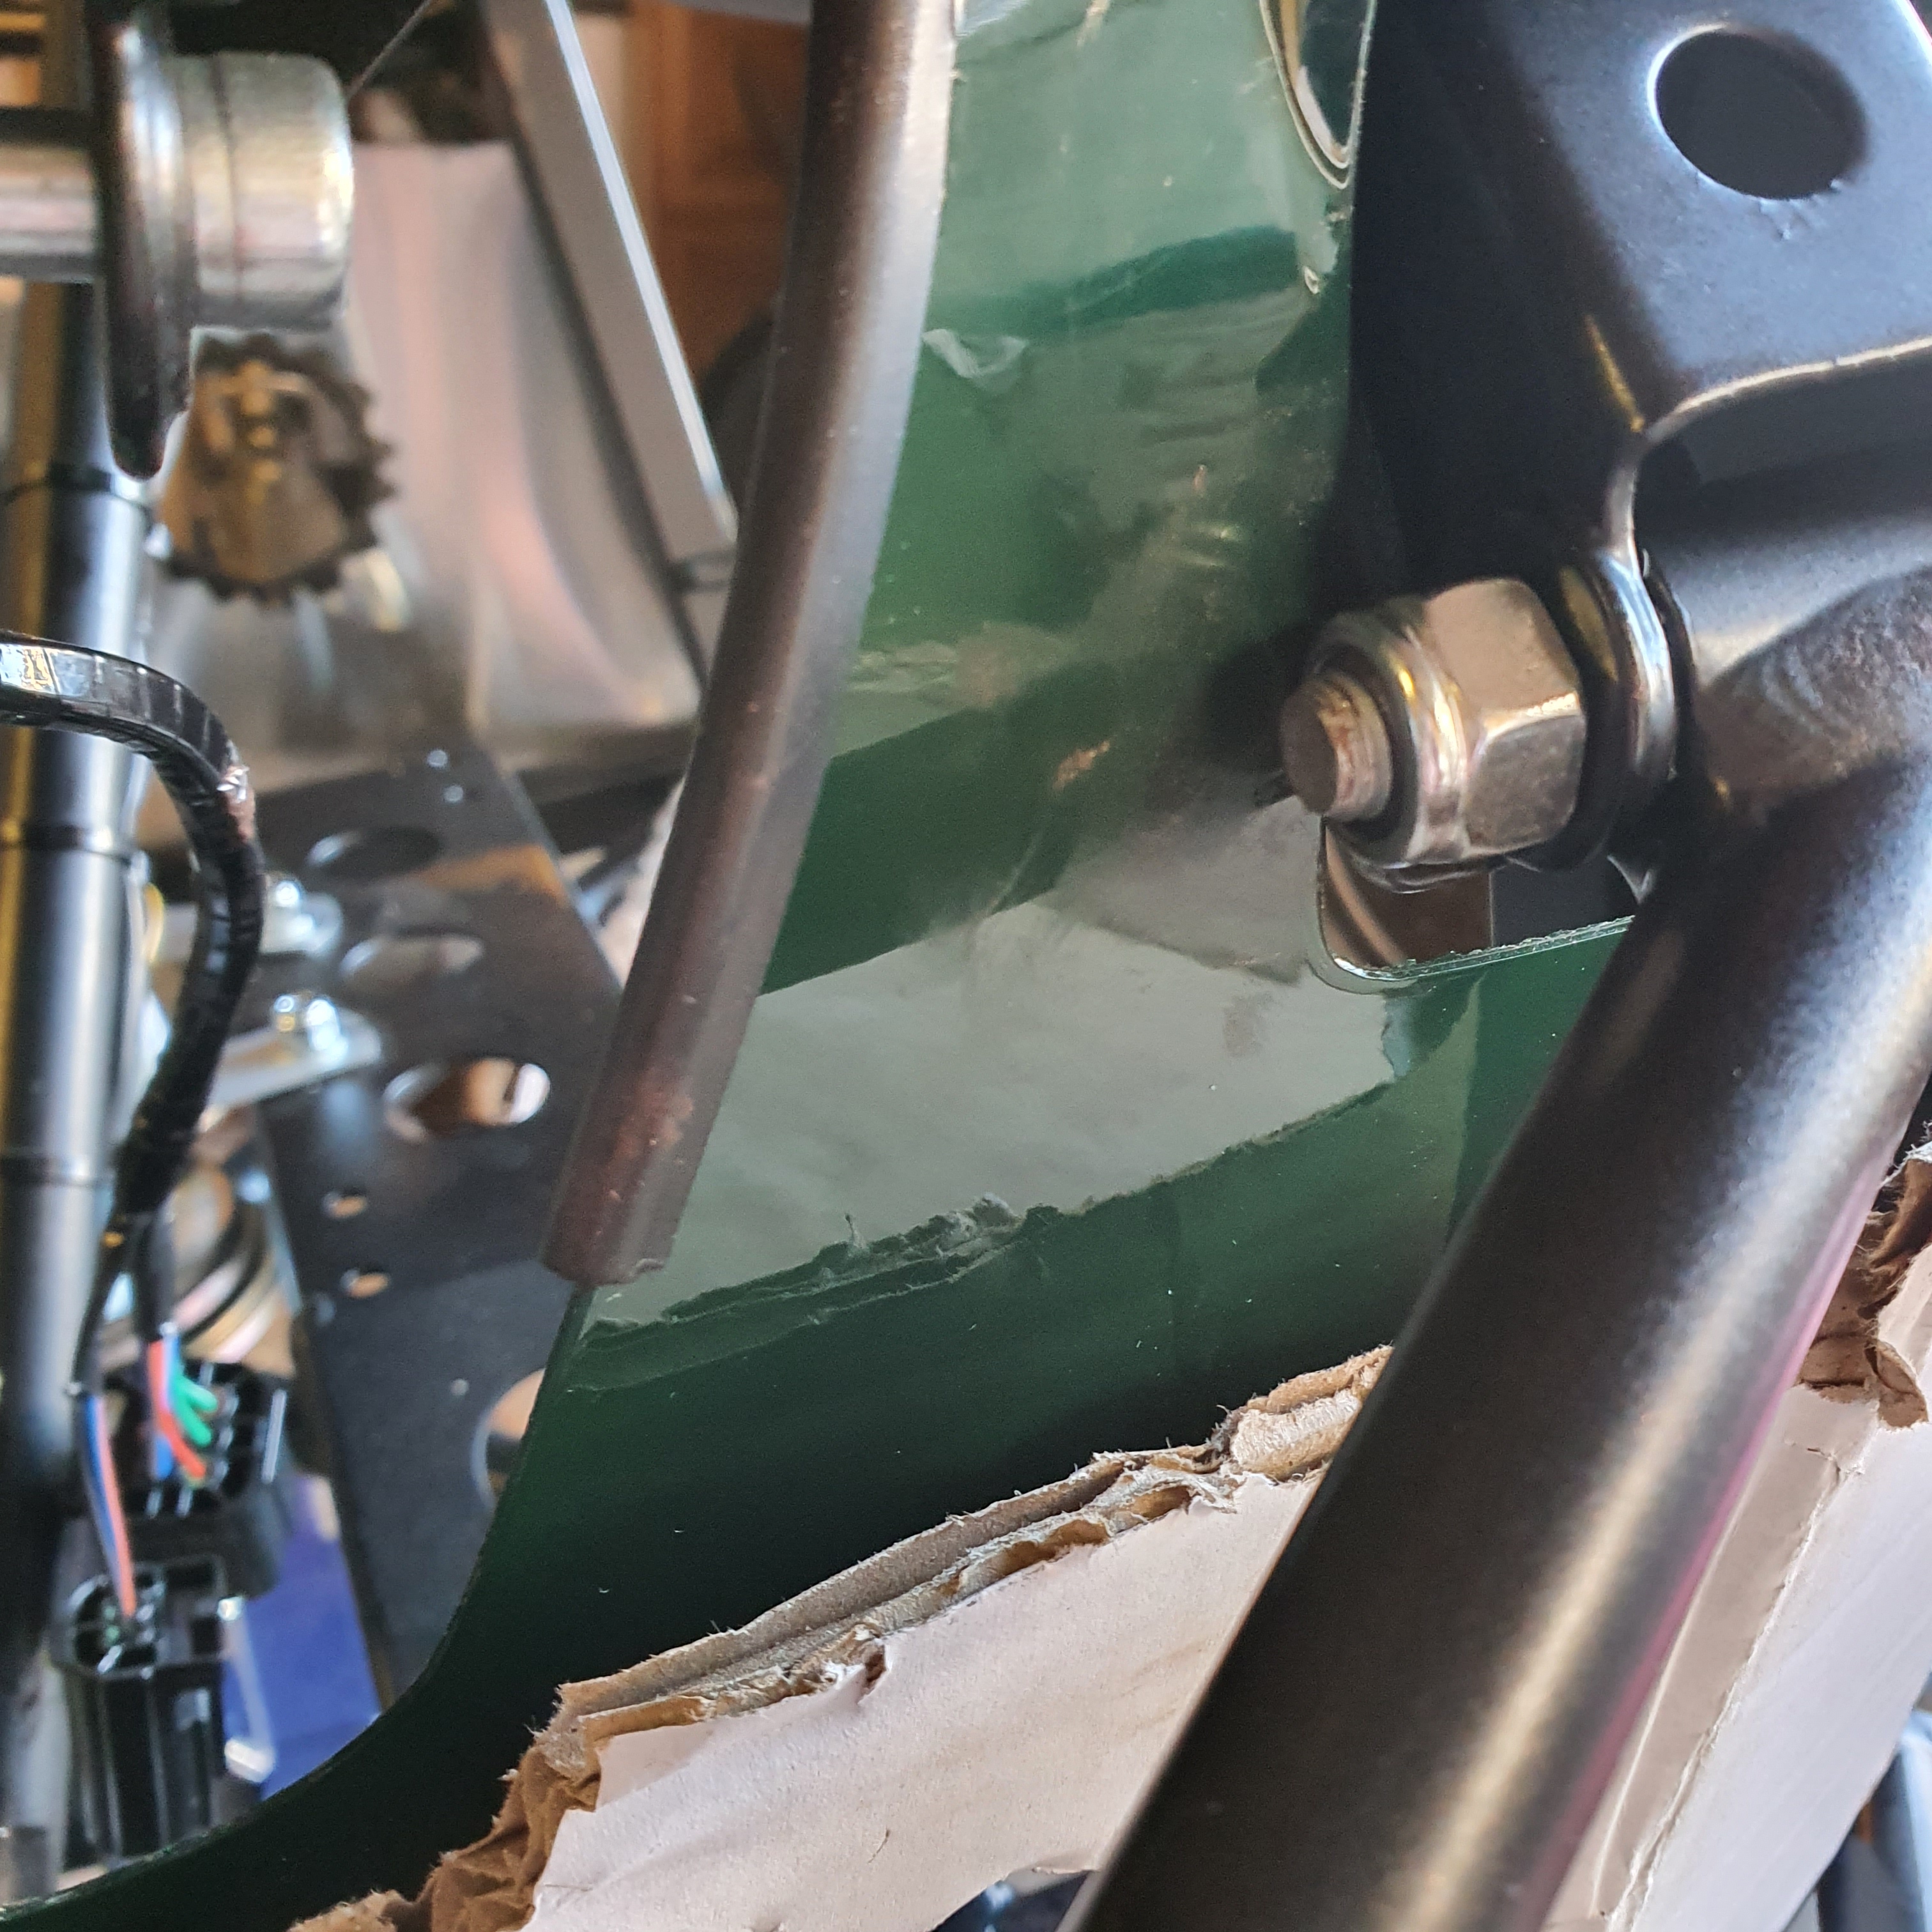
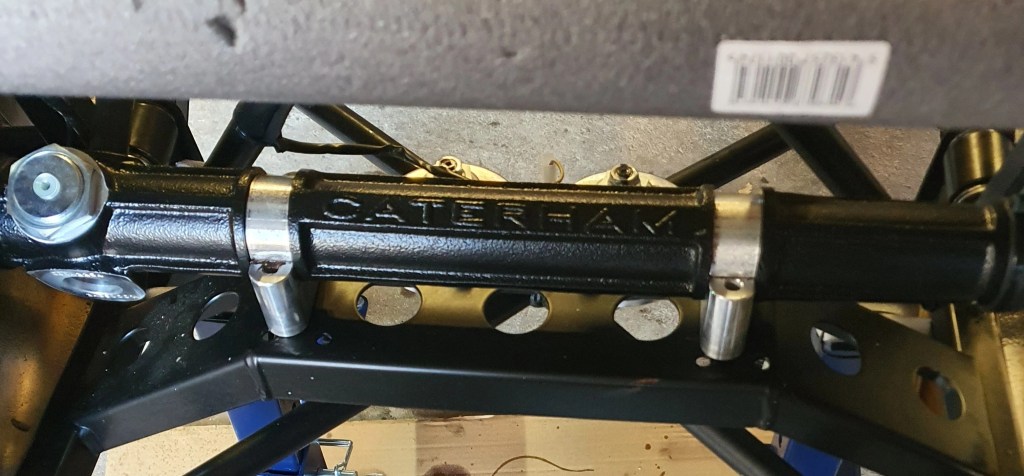
The steering rack was relatively simple and actually rather a nice bit of kit – complete with some branding on the body of the rack and the support. I took the advice to add a smear of grease to the mounts to make it easier to rotate the steering rack. I couldn’t immediately see anything that would tell me how the rack is positioned in the rotational sense so haven’t torqued anything up yet.
Getting the nuts and washers on the bottom of the rack was awkward and I found it easiest to hold the nuts in one hand and use the other hand to tighten the caphead bolt from above.
