7 February 2023
Time spent: 6h
Cumulative time: 9h
Main activities. Going through the boxes and installing temporary protection to sides of car. Installed horns
The day started with more rummaging through the various boxes and trying to consolidate things into fewer boxes.
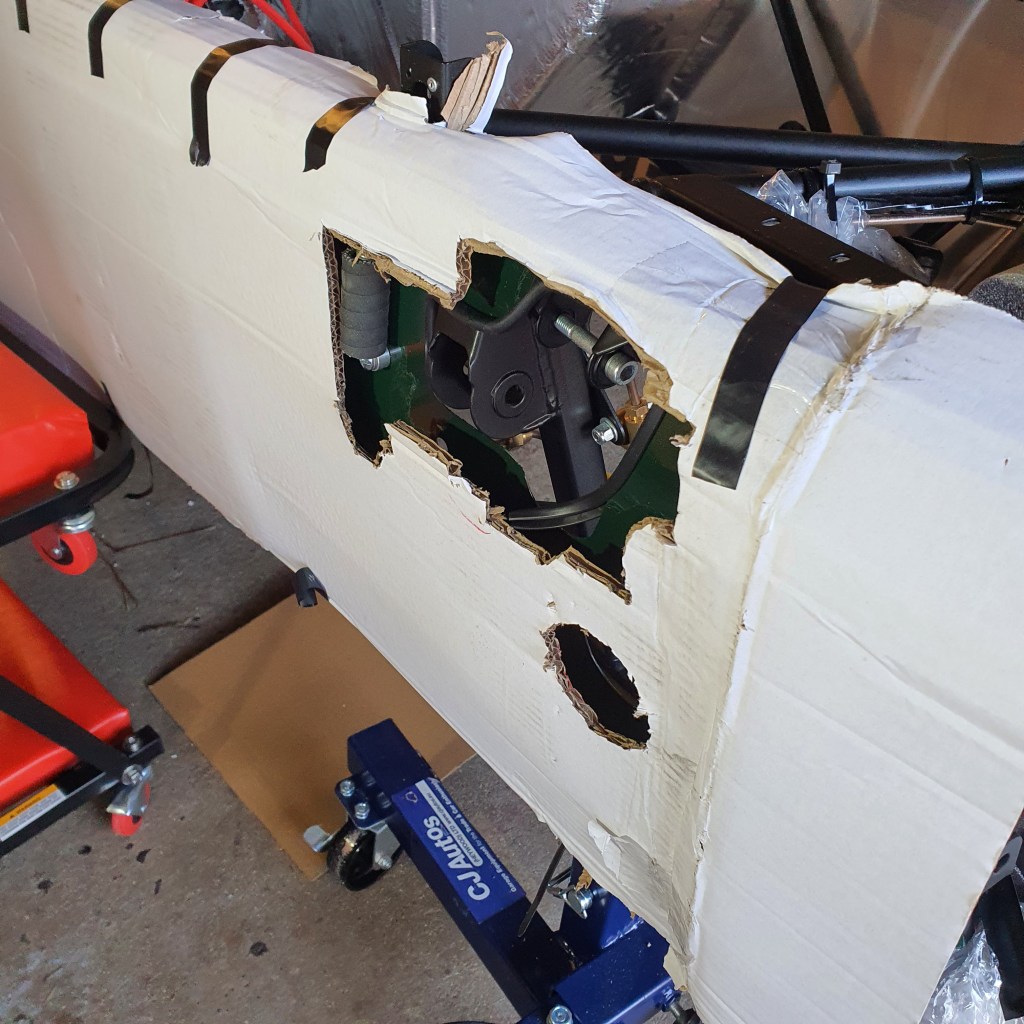
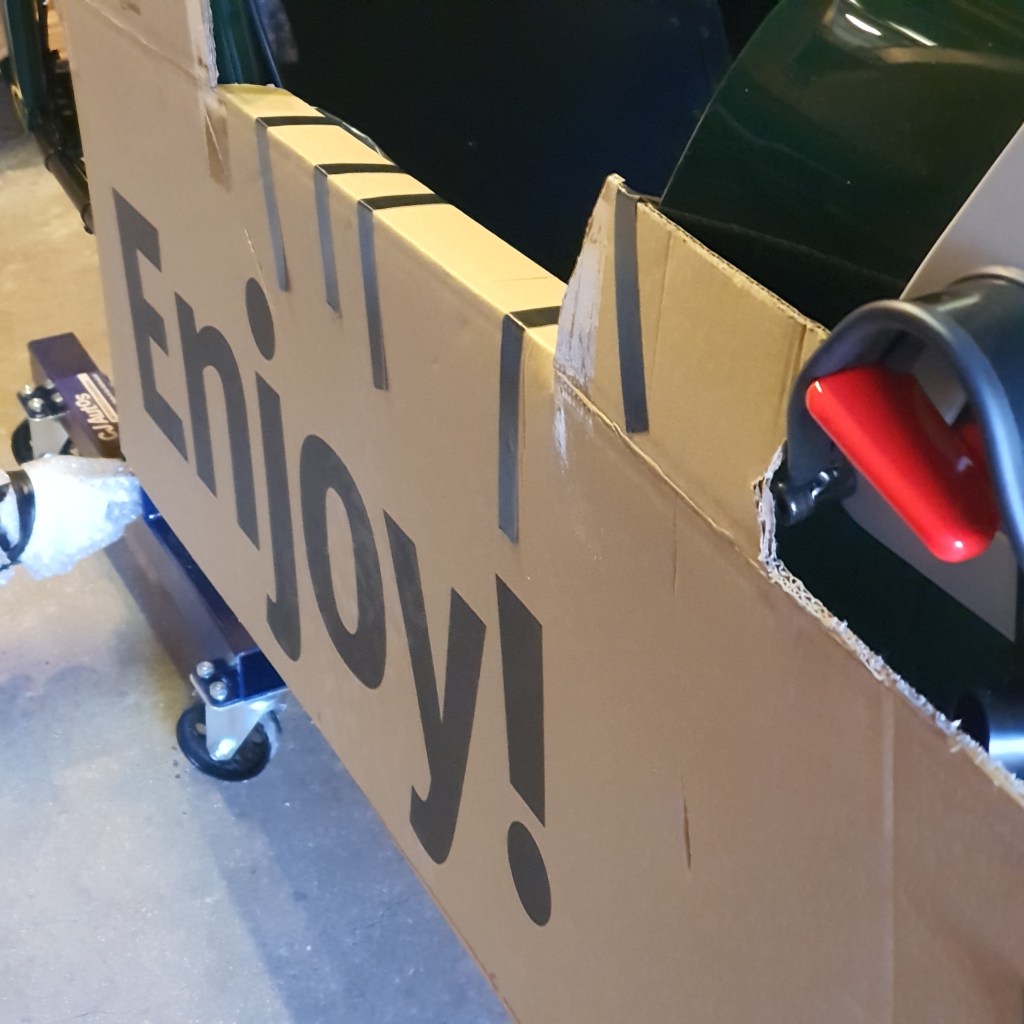
In common with most builders, I saw the need to add temporary protection to the sides of the car before I went any further. I have been saving packaging from Christmas so had plenty of boxes left for cutting up.
Having done this for one side, I thought about the next stage which was installing the IVA trim around the openings for the suspension. Clearly this was actually going to be easier without the protection in place so I then did the IVA trim on the unprotected side before I covered it over. I found the bonnet hook could be useful to help hold the protection whilst I taped it up.
I was a bit confused about the extent of the IVA trim – my understanding from the delivery guy was that it doesn’t need to go fully around the opening so I did the top half for the non-circular openings and the full circumference of the circular opening. I seem to have done the right thing in that there were no issues at the subsequent IVA.
The installation was a bit fiddly but not that difficult, requiring cutting some wedges out of the back of the trim so that it could bend easily and fixing it (and not my fingers) to the car with superglue.
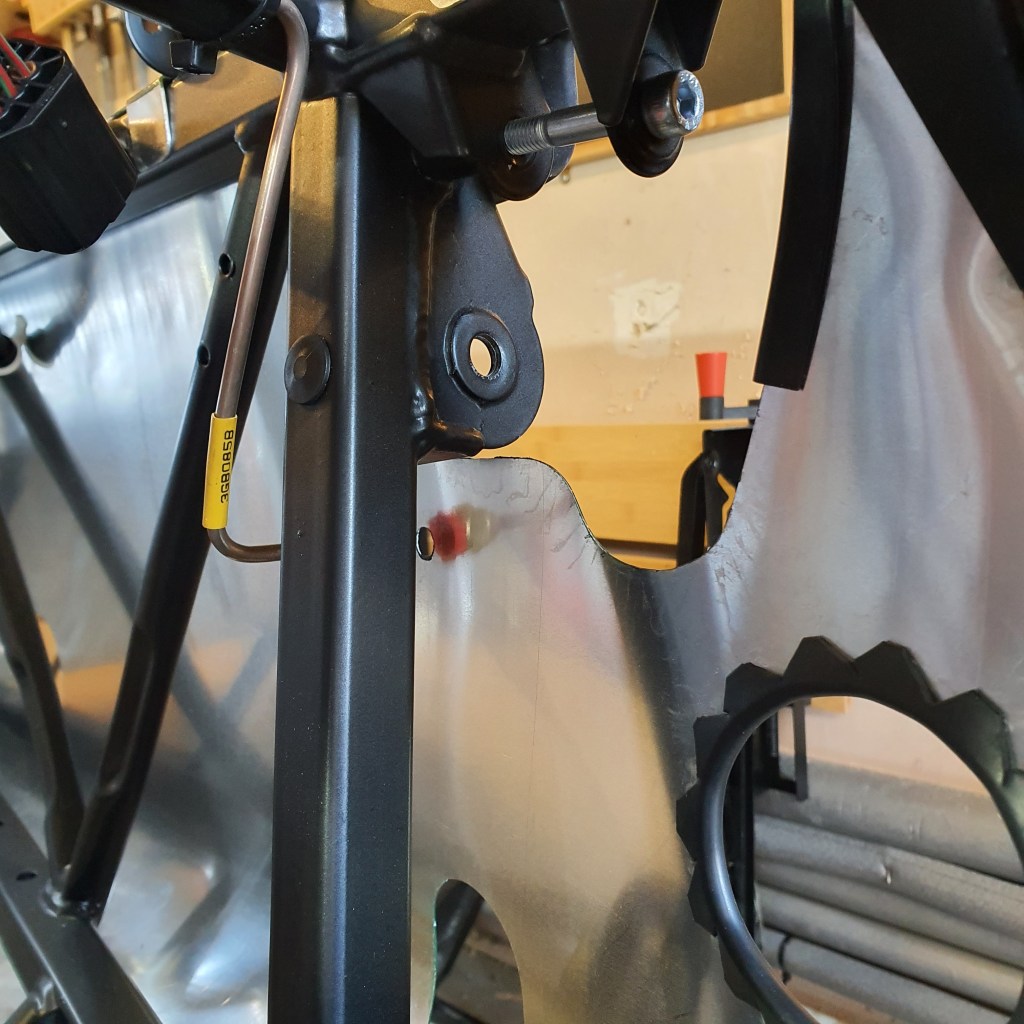
I realised afterwards that I had religously cut triangular sections out of the trim everywhere but you only need to do this for sections where the trim needs to curve in on itself. Where the trim is curving the other way – eg on the RHS image below – a simple cut is all that is needed.

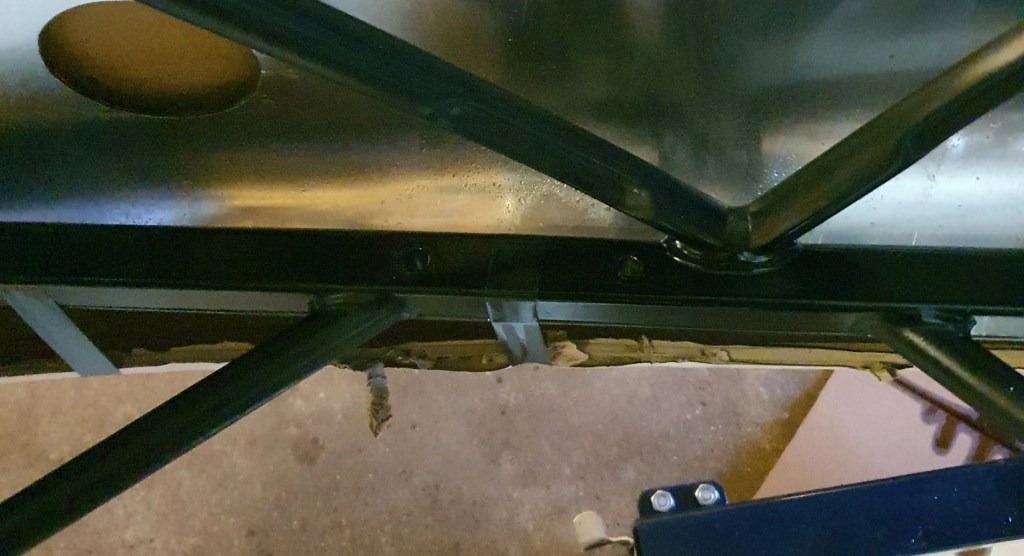
The other two jobs was to varnish the plywood lining in the boot and to apply some anti corrosion treatment (ACF-50) in the joint between the aluminium skin and the bottom of the steel framework. Neither of these actions are identified in the Assembly Guide but seemed to be a sensible action to extend the life of the car.
Opinions seem divided as to whether the ACF-50 is actually necessary but I decided to go for it as I can imagine this is a place where grot is bound to gather. I just sprayed some ACF-50 on the unpainted side of the aluminium and let it run down into the joint between the aluminium and the frame.
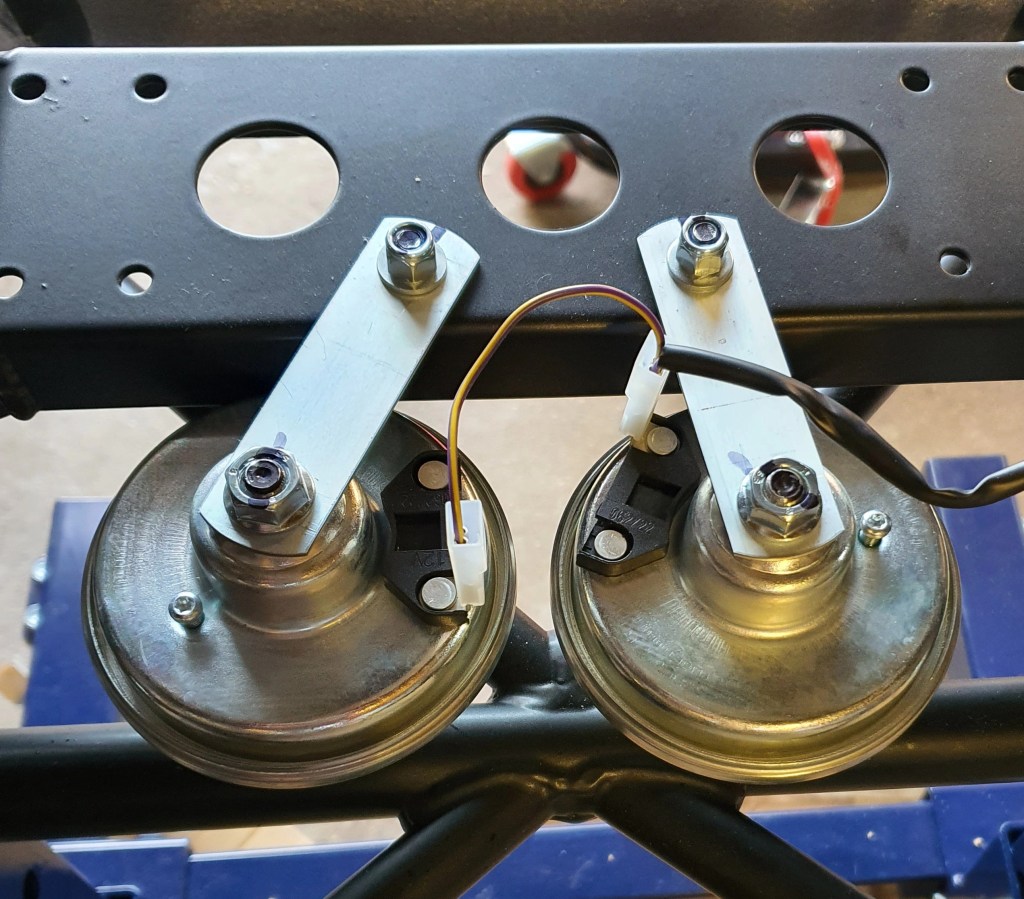
Finally, I have installed the first of the parts on the car – the horns. They come very tightly bolted to a flat bar. The actual position of the wiring connections means that the horns need to be rotated on this bar such that the connections end up next to each other, so I had to slacken off these nuts. Once the other end of the bar is fixed to the car, it was an easy job to fix down using the nyloc nuts provided (the studs onto which these go are already on the car).
I wired them up using the purple/yellow striped wires (these are bundled up along with a bag of bits tied to the upper chassis member) and then cable-tied the cable to one of the chassis angled members.