Time spent: 6h
Culmulative time: 39h
Main activities: Finish the lights
I decided to get on and finish the lights now that I have tracked down some appropriate heat shrink. As is noted by pretty well everybody, this is a bit of a pain. On the plus side, its a job that can be mostly done away from the car in the warmth of the house.
I followed the method set out in the blog by Daniel French. Based on my trial and error, I would suggest these additional points:
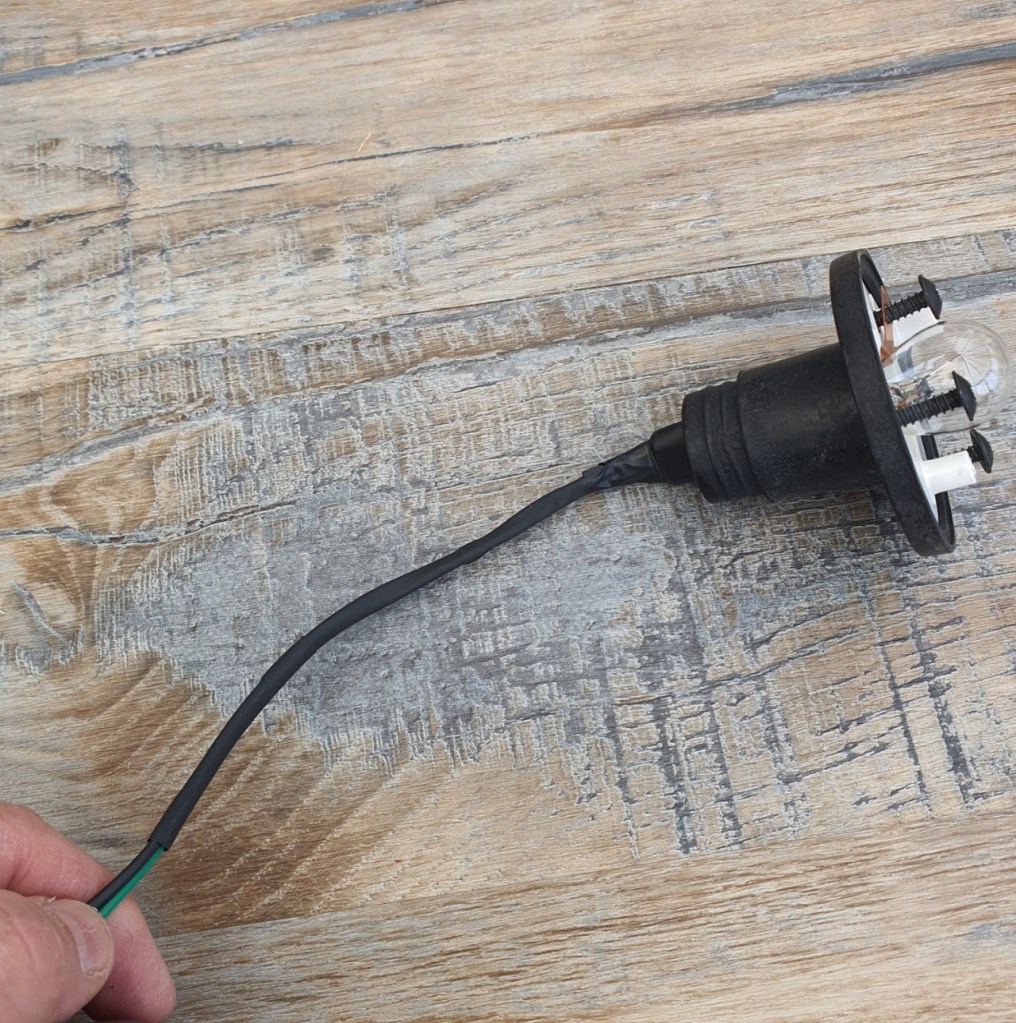
- Getting the heat shrink on the indicator is easier without it in the housing (you can get the heat gun to all sides of the indicator bulb holder and wires).
- I couldn’t find heat shrink that would go over the rubber nub on the back of the bulb holder and also shrink sufficiently to closely fit around the wires. I ended up using two sizes and overlapping the joint and finishing with some electrical tape.
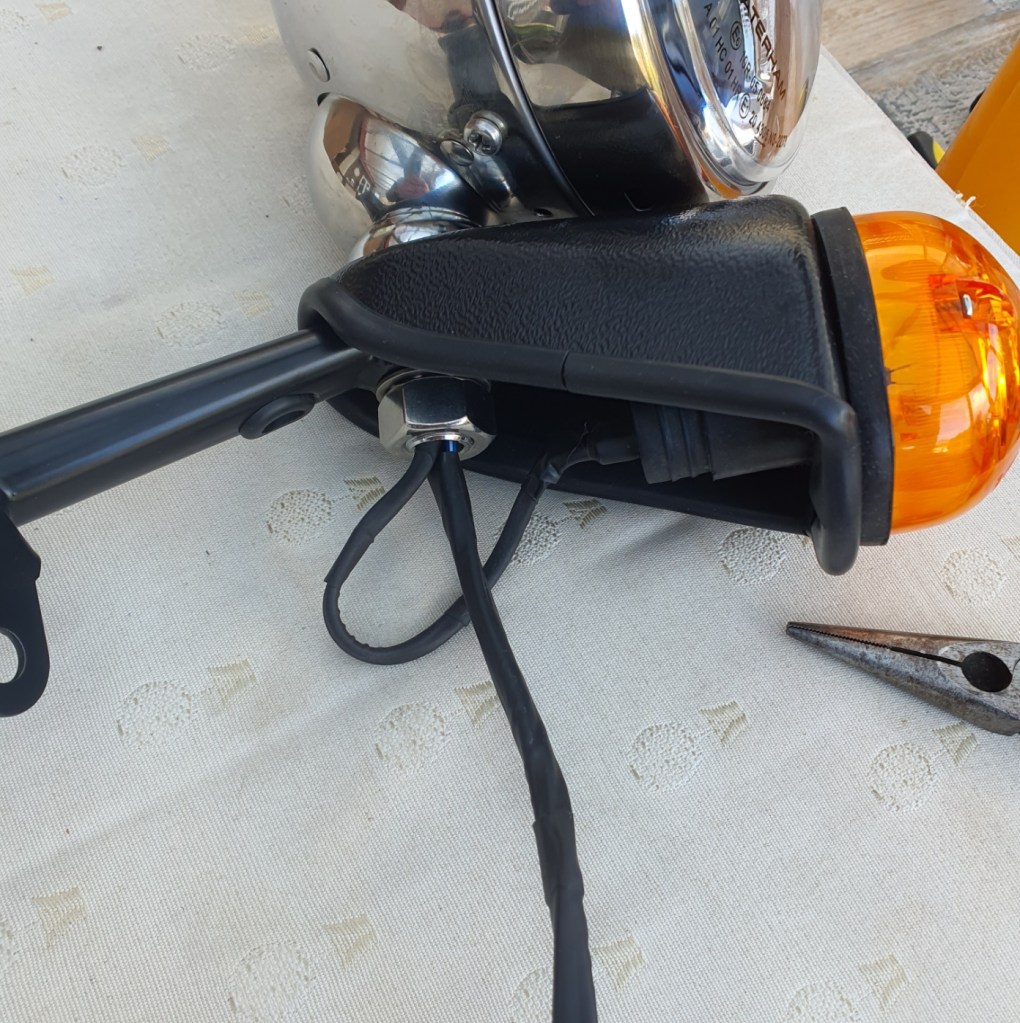
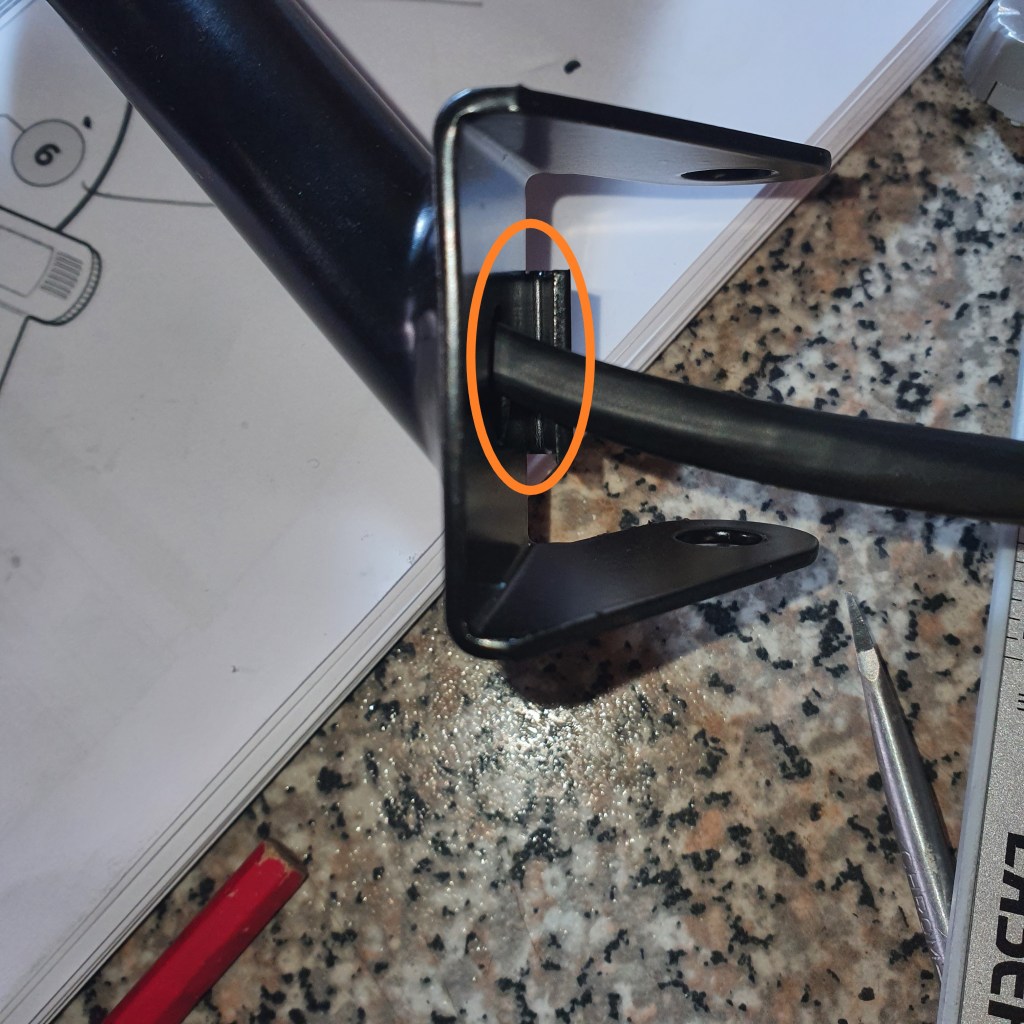
- Be careful not to put too much length of heat shrink on the indicator wires otherwise you end up with more wire than you should between the headlamp bolt and the back of the indicator bulb holder (see my first try image below). The indicator wires head up in the hollow bolt fixing but the green wire has to be bound in to the group of wires heading down into the car so it has to do a U turn inside the fixing bolt
- Silicone spray is really helpful to get things moving
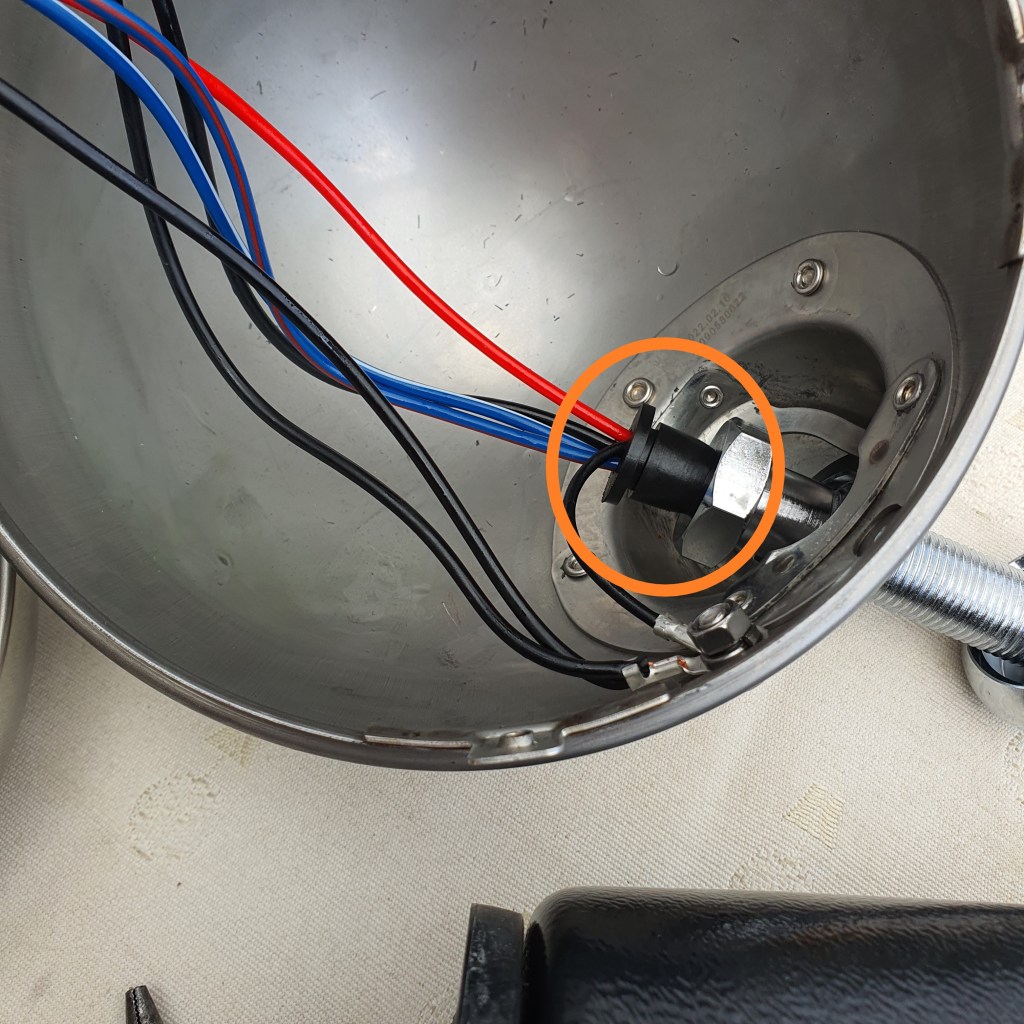
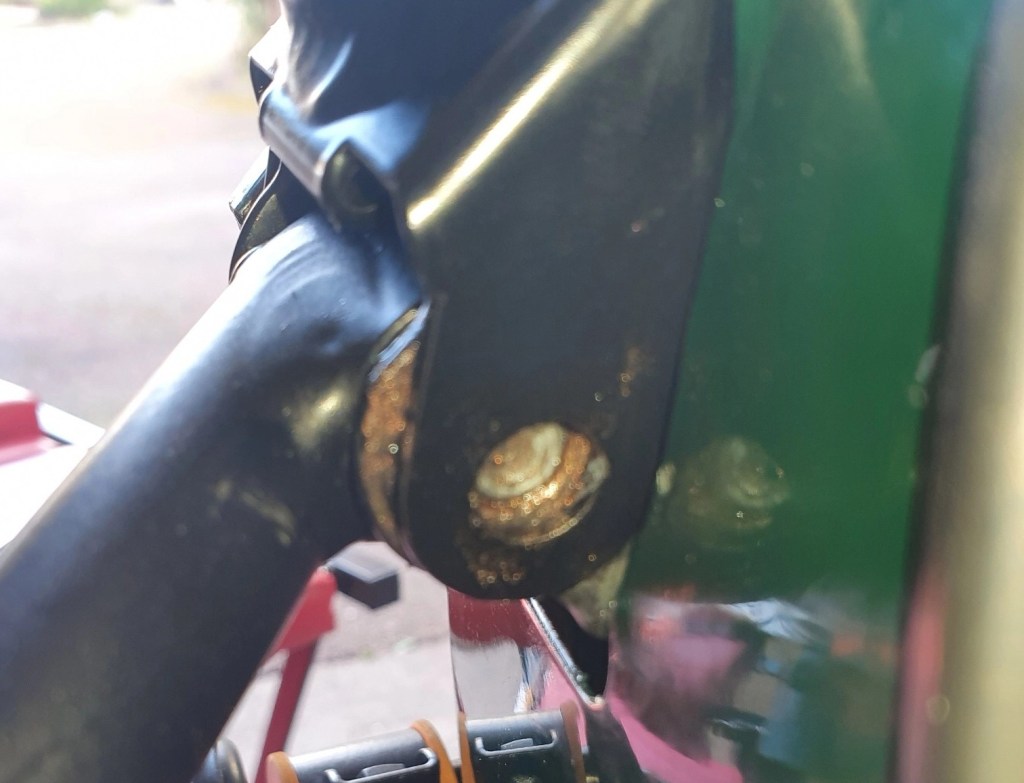
- I struggled to get the grommet in the headlight bowl to compress fully into the bolt (see image below). The headlamp bowl has some openings (presumably for cooling), so I guess it doesn’t have to be airtight.
- I put a smear of copper grease on the two screws that hold the headlight into its housing, thinking these are probably going to be the first thing to corrode with time.
The real difficulty for me was getting the assembled lights onto the car. The holes didn’t align to allow the bolt through to fix the light support to the top of the suspension.
I did a little bending of the hook on the back of the light support in the hope that would allow the support to sit a bit higher on the wishbone attachment. I also ended up removing the IVA trim to give a bit more wriggle room.
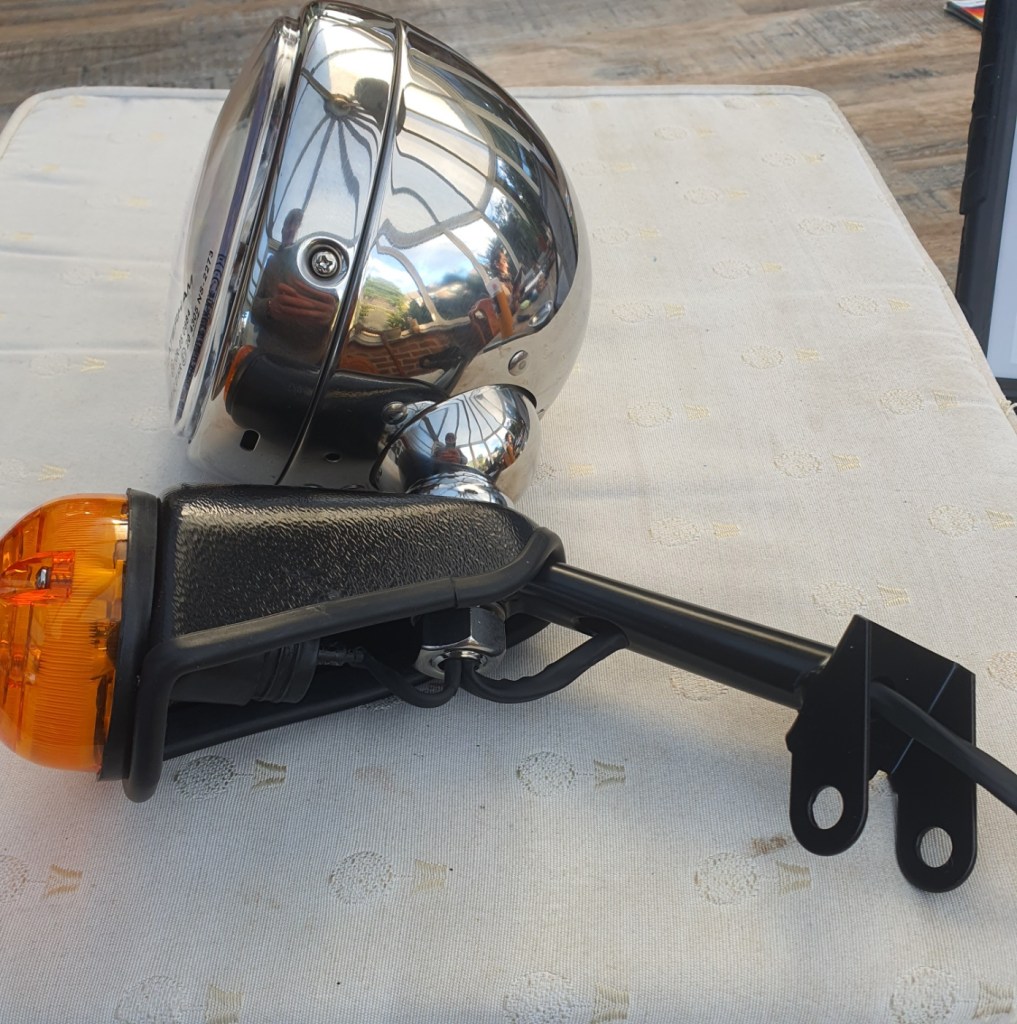
In the end I got there but it took a while and a few choice words. All that is left to do now is to put the wires into the connection block (provided loose in a plastic bag) and fit that to the corresponding connector on the wiring loom.
[And to add insult to injury, I realised that by putting on the ARB before I had finished the lights had meant that I couldn’t remove the suspension bolts to install the lights, so had to disassemble the ARB. Lesson learnt – there is an order to the tasks in the Assembly Guide for a reason.]
See Day 18 regarding connecting the wiring to the loom (no point in doing it now as you need to include the indicator repeater that is part of the wing assembly)

Leave a comment