Time spent: 6h
Cumulative time: 90h
Main activities: Finish front wings, rear suspension and brakes
I did the second pass of the wings with the glue this morning, and tidied up the indicator wiring in the underside of the wing. It seems to have set pretty well overnight. Disposable gloves essential for this job so that you can smooth out the finish (having sprayed the gloves with WD40).
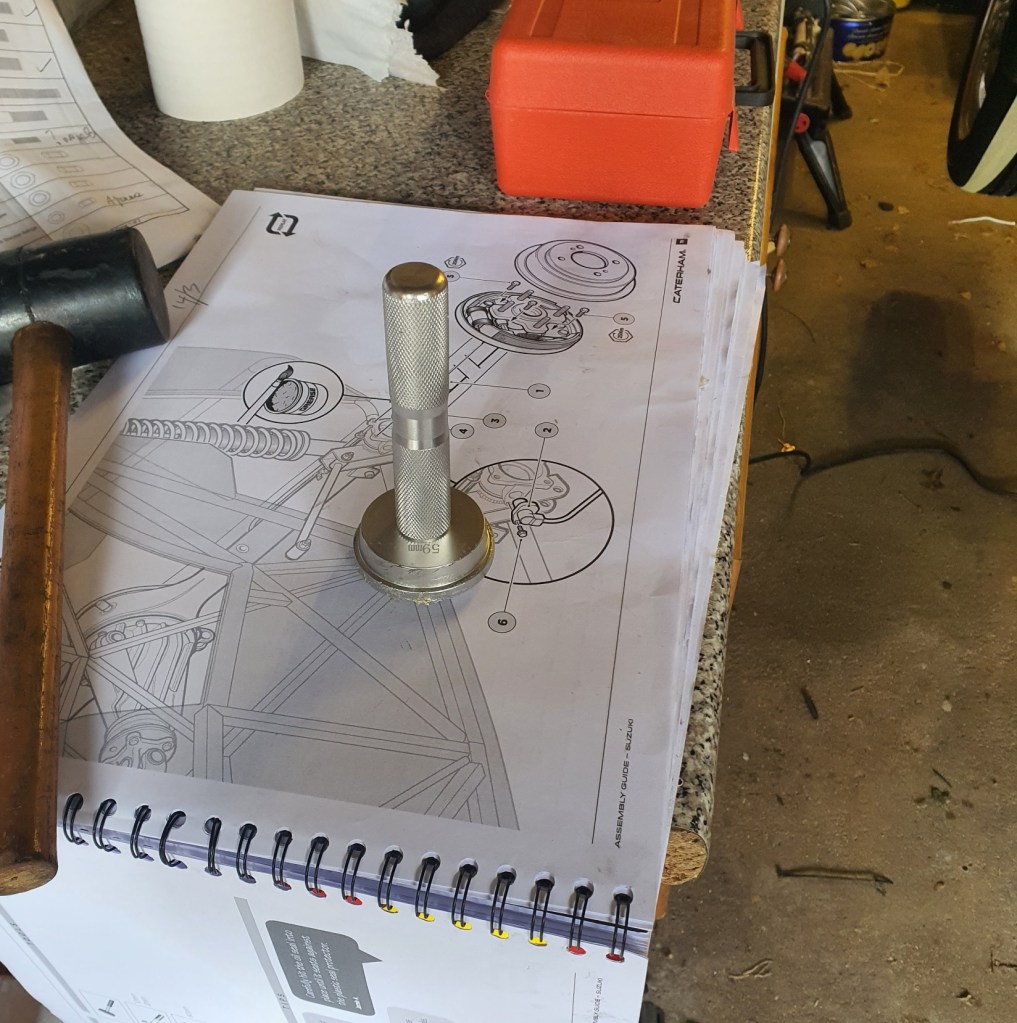
My seal drift arrived this morning and I used it to help me hammer in the oil seals for the half-shaft axles. Then the half shafts went in – they were a bit fiddly to get into position. The Assembly Guide doesn’t mention that these are not identical. One has two hydraulic connections, and this goes on the drivers side.

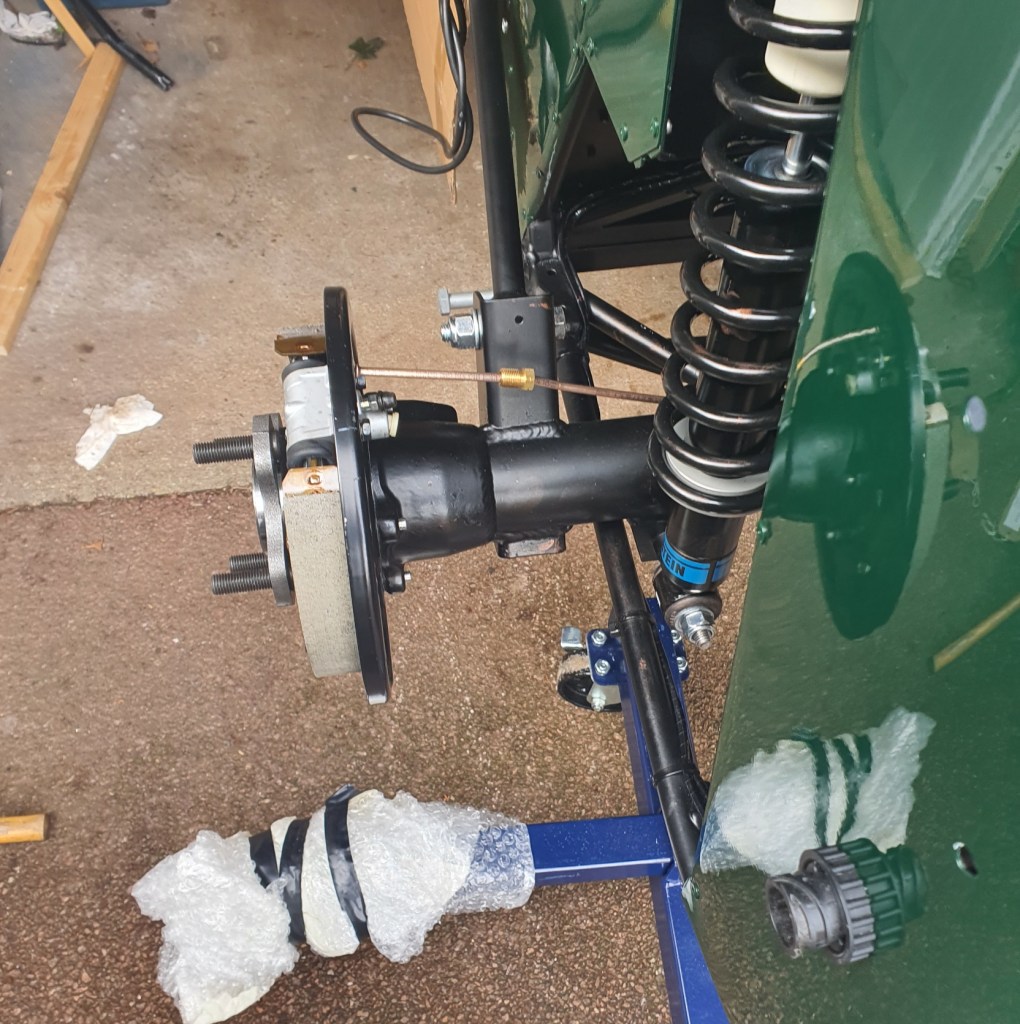
The wheel bearings are pretty tight and I used the four bolts to gently pull the half shaft into the axle – giving each of them half a turn in turn so that everything came together nicely aligned.
Then on to fixing the handbrake cables which is a fairly simple process, although getting the large nipple on the end to seat in the brake assembly needed quite a lot of poking (I was struck that this was essentially a mammoth version of the brakes on the bicycle from which I borrowed the brake cable that I had used earlier to get the wire down the front wing upright).
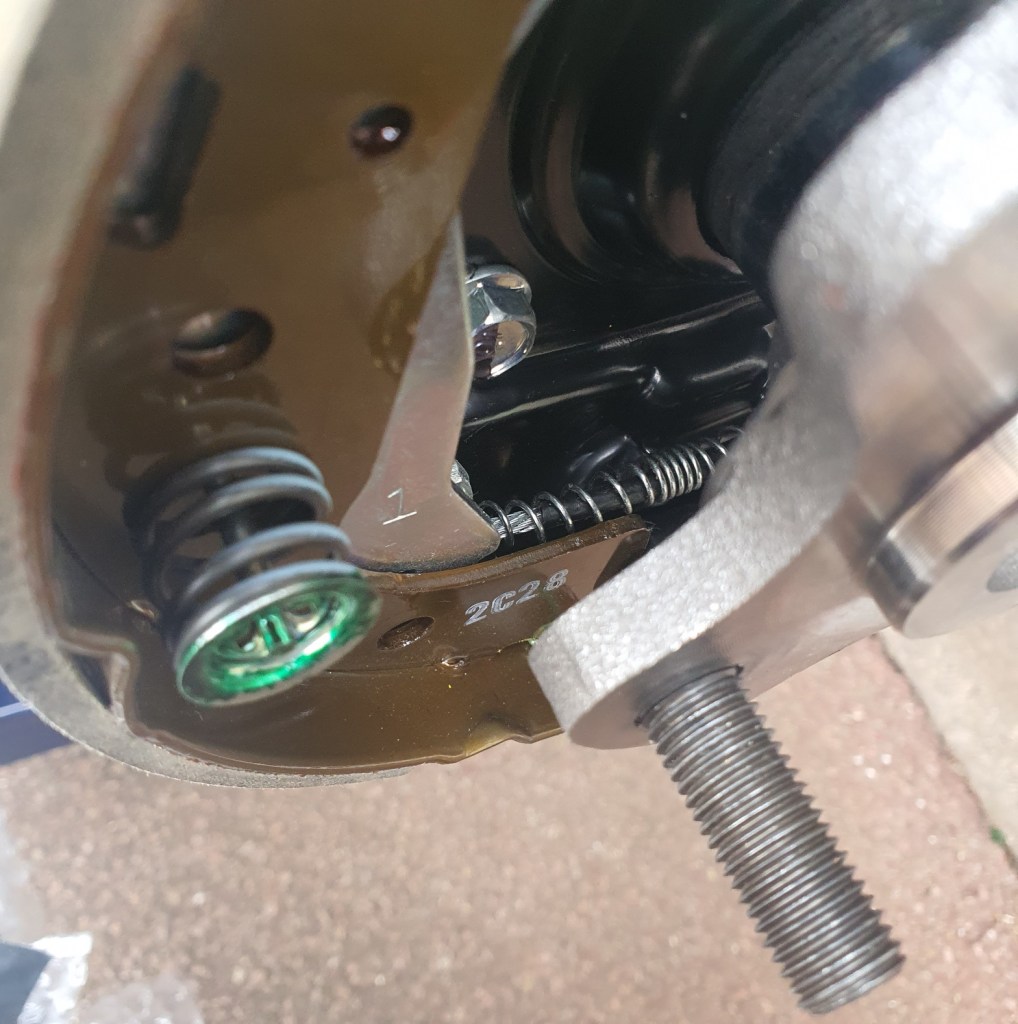
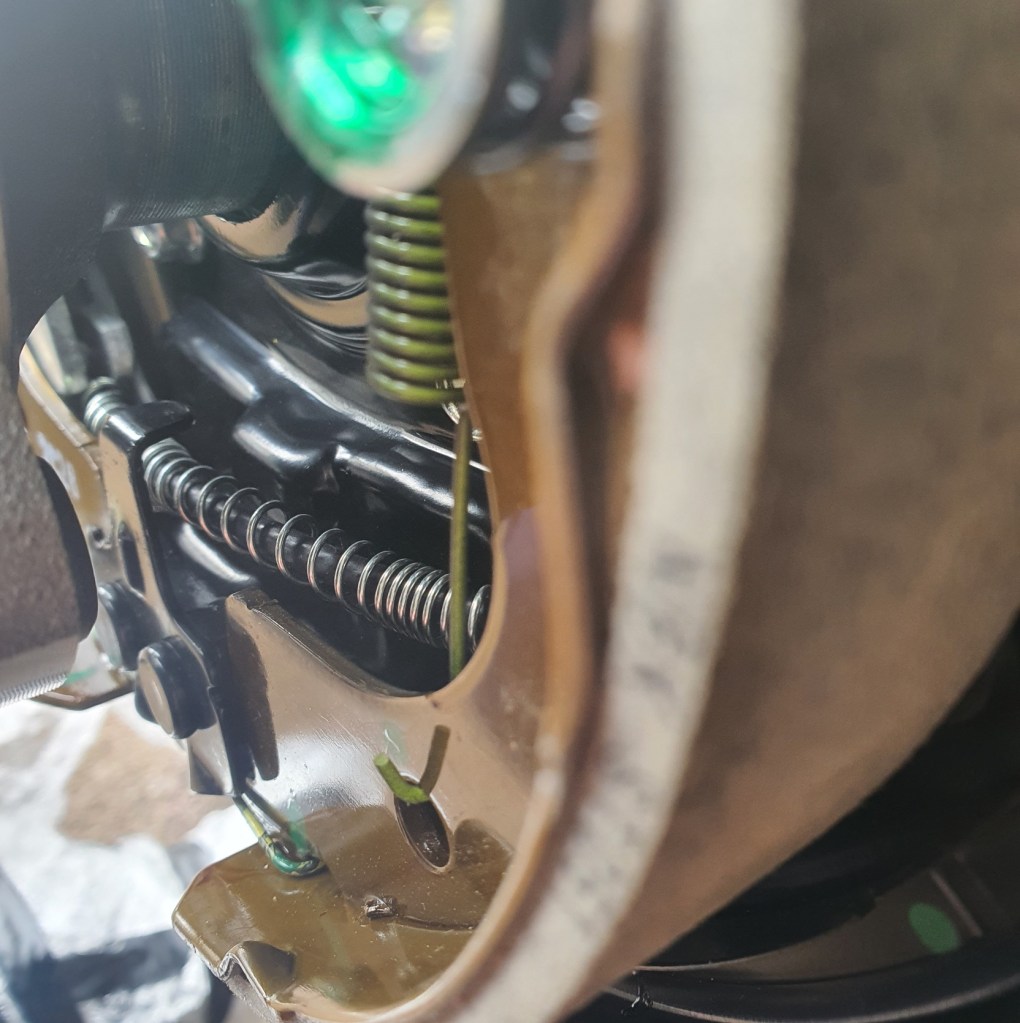
My biggest quandary now is to get the handbrake adjusted. Its clearly difficult to get at and once I put in the cover plate over the transmission tunnel, I can only get to it from below. I have also seen others note that getting the handbrake handle through the cover on the transmission tunnel can be really difficult unless you can pull the handbrake up quite high.
I also hooked up the hydraulics which caused the pipe to come off the clips that hold it onto the rear axle. I will be readjusting that tomorrow.
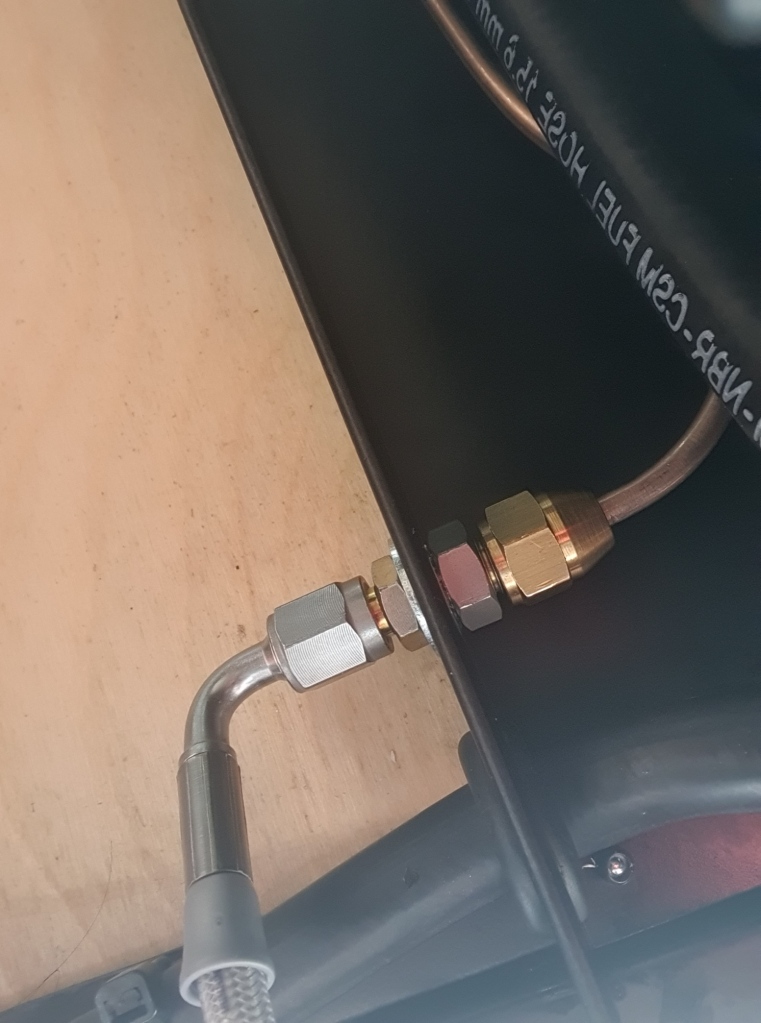
There is also a flexible hose to connect from the back axle to the brake circuit on the car body. There is a copper pipe pre-installed on the chassis up at the top of the wheel well (on the drivers side). That’s why there are two hydraulic connectors on the driver’s side brake. The flexible hose goes on the top one.
The Assembly Guide doesn’t cover this at all. When queried, the advice from Caterham was that the connection goes in this order (working from brake to car):
– braided brake hose union – thread adapter (short end) – plain washer – chassis bracket – shake proof washer – plain nut – copper pipe union.

Leave a comment