10 Feb 2023
Time spent: 5h
Culmulative time: 21h
Main activities; Installing the front brakes and wingstays. Drilling of wing support
Pre-reading blogs by others had warned me that this might be tricky. Turned out to be so, but definitely a game-of-two-halves in that the LHS took me 3h and the RHS took me 1h.
I had realised yesterday that this job would require the jack that I have been putting off buying (although this isn’t mentioned in the list of tools required in the Guide).
After much deliberation and a few forum messages to the club, I had homed in on a particular jack that was actually a very reasonable price. I ordered it around midday yesterday and it was here by 8.30 this morning. I needed one that would go up to 500mm (plus a bit) as my axle stands are 500mm off the ground, but also one small enough when retracted to slip under the car when it is on the ground [well, almost as I discovered later].
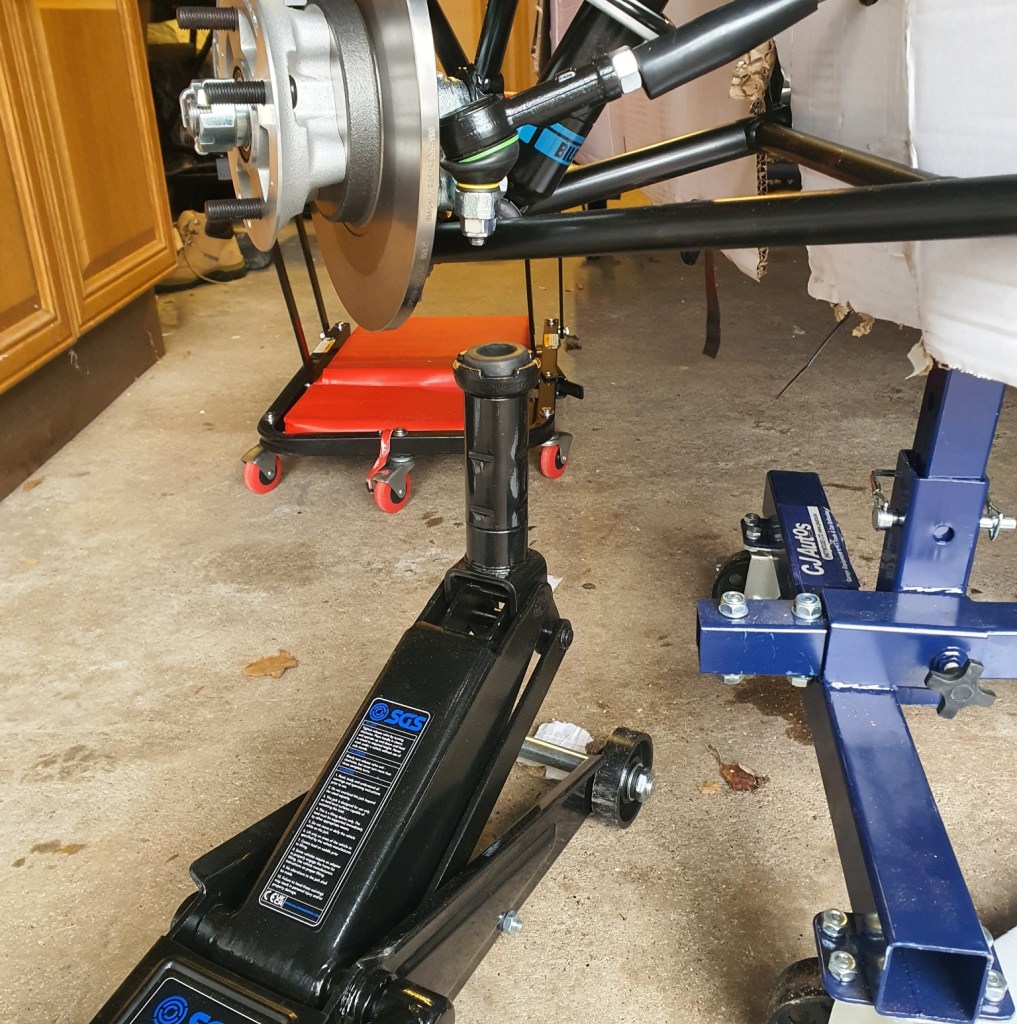
The jack passed the first test with flying colours. I will have to wait a bit to find out if it will pass the thinness test. I realise that getting the car off the stands is going to be a two-step process where I move the stands to around 300mm off the ground and then remove the vertical extension piece on the jack which is needed for the jack to go to 500mm.
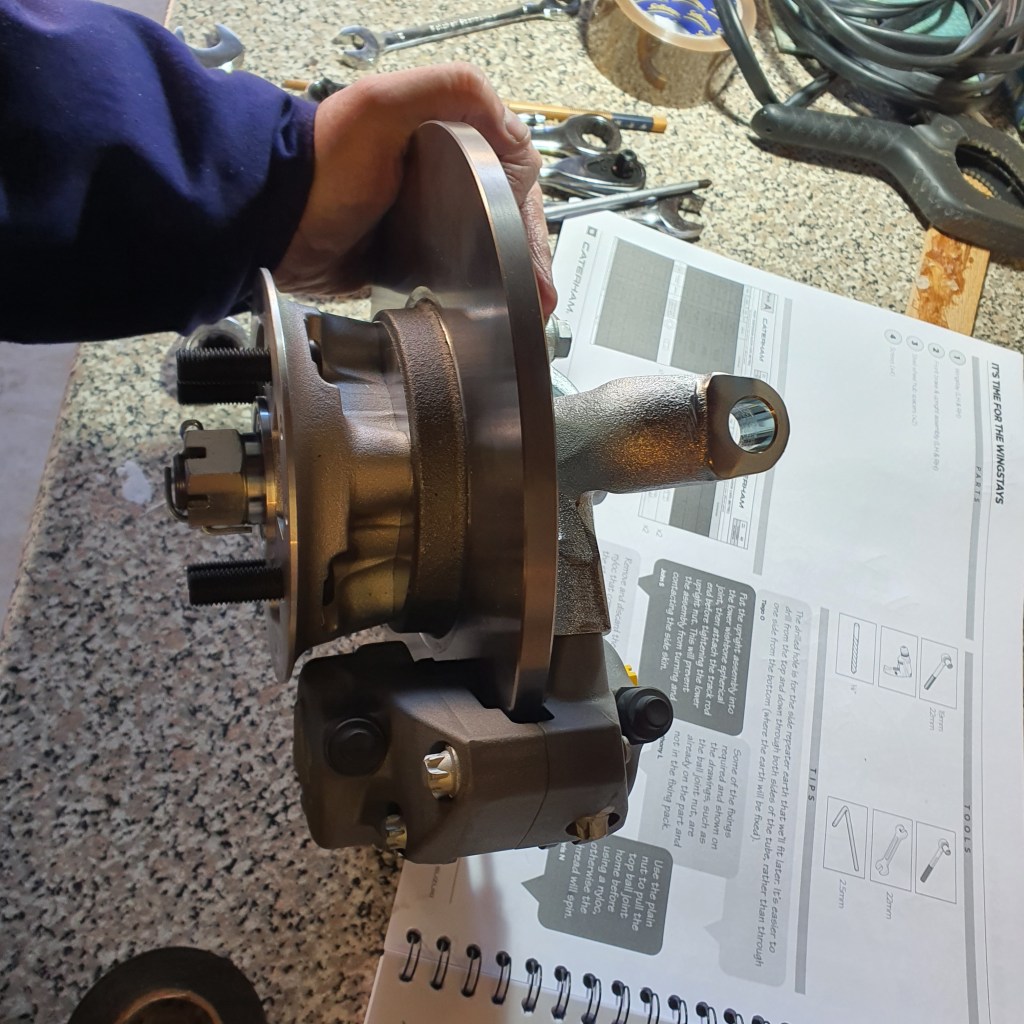
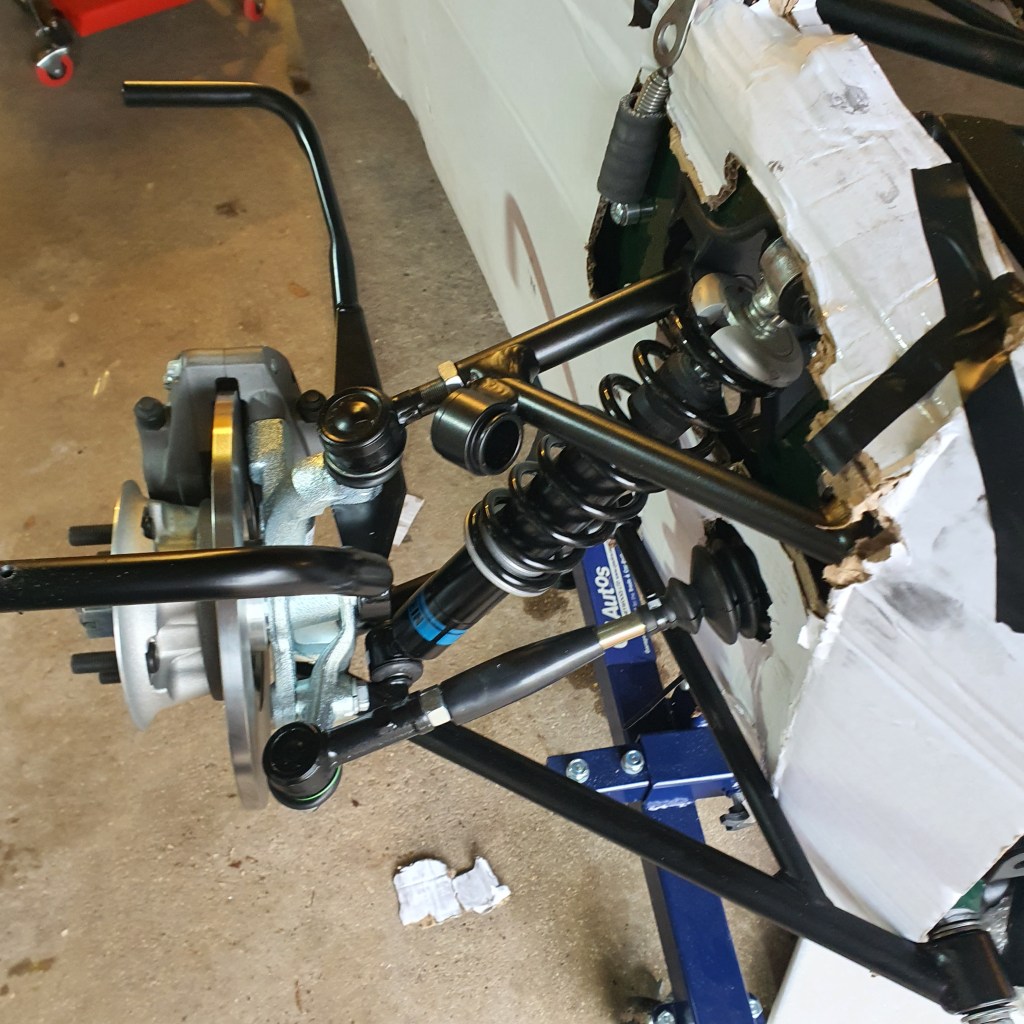
The jack was quickly put to work lifting the suspension on one side of the car. This is necessary to make the various holes in the wishbones align with the studs and holes on the brake assembly. Once everything was in place, I was able to make a start.
The bottom of the brake assembly dropped easily into the lower wishbone. Aligning the upper connection was a bit more tricky but I was able to manage that once the jack had done its work. Getting the wingstay on was much more difficult – I eventually resorted to a couple of light taps with the rubber mallet on the wingstay away from the car on my bench and that slight ‘reshaping’ was enough to enable me to fix it to the central bolt on the brake and the vertical top bolt that connects to the track rod end.
There is a nut on this centre bolt when you unbox the brake assembly. You need to remove this which takes a bit of grunt. It’s easier to do this with the assembly fixed into position on the car rather than on the bench.
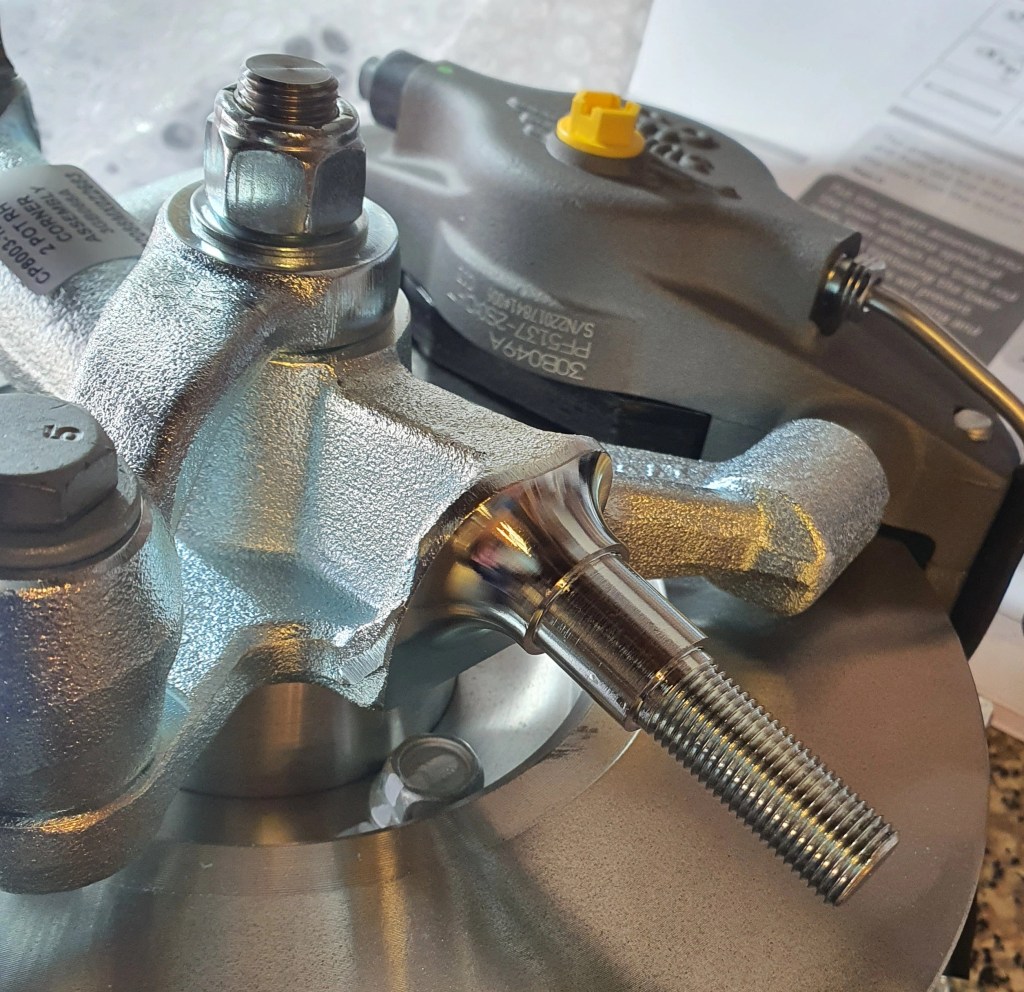
Included in the pack is a spare nut that you can use to pull the upper track rod downwards into the brake assembly. I struggled for quite a while to understand why you need this but realised that the stud coming out of the trackrod is able to rotate. Using this spare nut to pull the top trackrod stud through brake helps lock it in place before you install the ‘proper’ nyloc bolt later, having removed the spare nut.
Not mentioned in the Guide is a useful hex socket in the bottom of the stud. You can put an Allen key in here to make sure nothing rotates as you do up the nut.
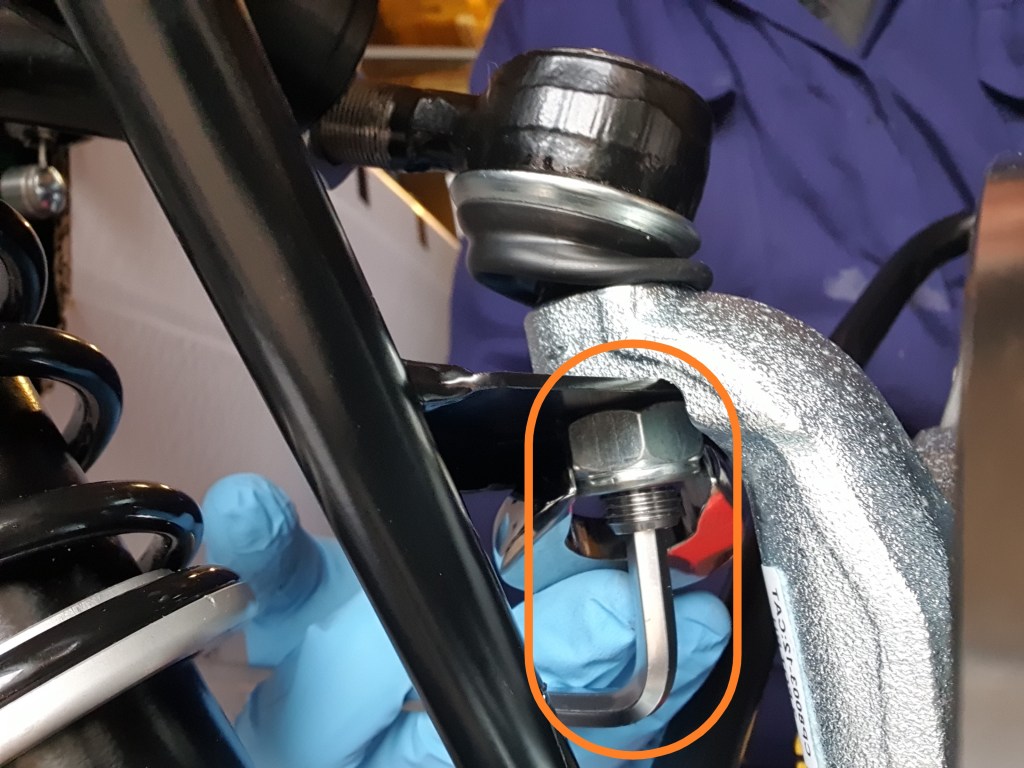
Access to the nut at the top of the brake assembly is very limited and one of the reasons my second go at this was so much faster is that I didn’t rigidly fix the bottom of the wingstay to the centre stud on the brake on the second go. This allowed me much more flexibility to get at the troublesome nut and made the whole job of tightening everything so much quicker.
For the wingstay top fixing, my socket is too deep to allow me to get the torque wrench on it. Might need to get a low profile socket.
For some strange reason, the fittings for this assembly are a mix of metric and imperial sizes. I had to be very careful not to mix things up.
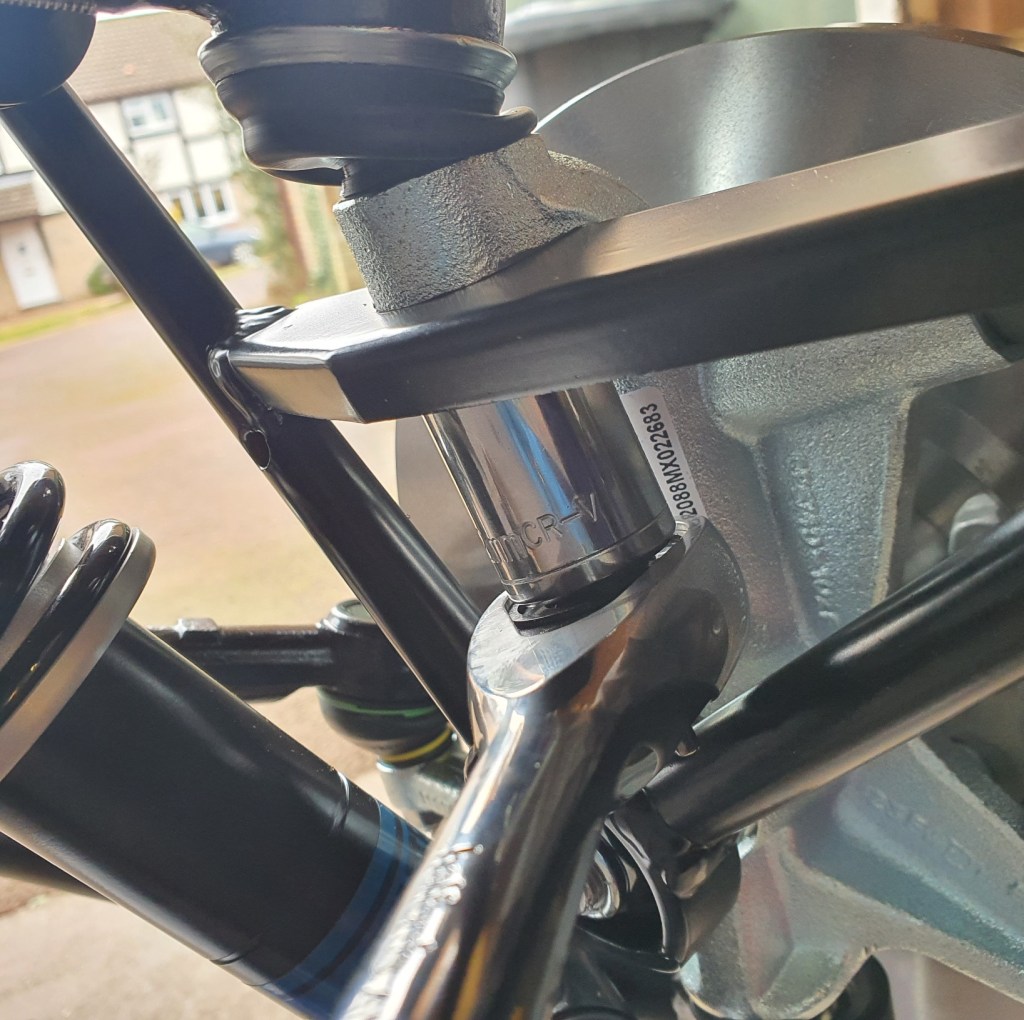
Finally, I torqued up the steering rack (I assume it just goes in with the branding being horizontal) and drilled the holes in the wingstays.
Got some replies from Caterham and seems that my assumptions about which bush sleeves go where – see yesturday’s post – were correct (the slightly longer ones are for the back). Phew.

Leave a comment