Time spent: 6h
Cumulative time: 81h
Main activities: Roll cage, rear suspension, drive train, front wings
Had some family visiting over the weekend who I quickly put to work to help get the rear axle in place. Its definitely a two-handed process.
First job was to wheel the whole car out of the garage and turn it round (so that the rear of the car was next to the door). I left the back half out of the garage for the duration as this made access to insert the rear axle a bit easier.
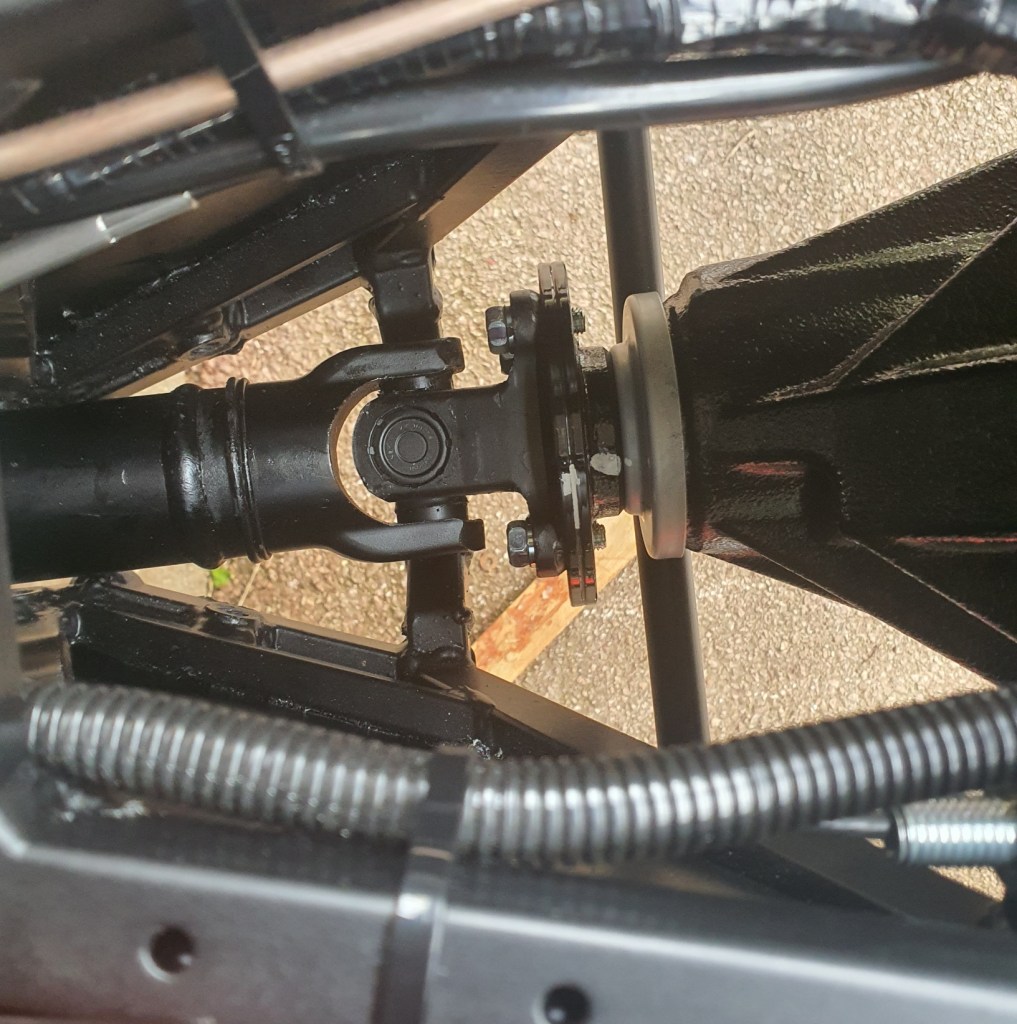
Having got it slid in, I promptly had to take it out again realising that in moving the car, I had taken out the propshaft and that has to be in place before the rear axle. Next job was to bolt the two together which was easy to do, at least to finger tightness, from above (more about this below). To help with this, I used the jack to support the front of the differential so that the diff and the prop shaft aligned.
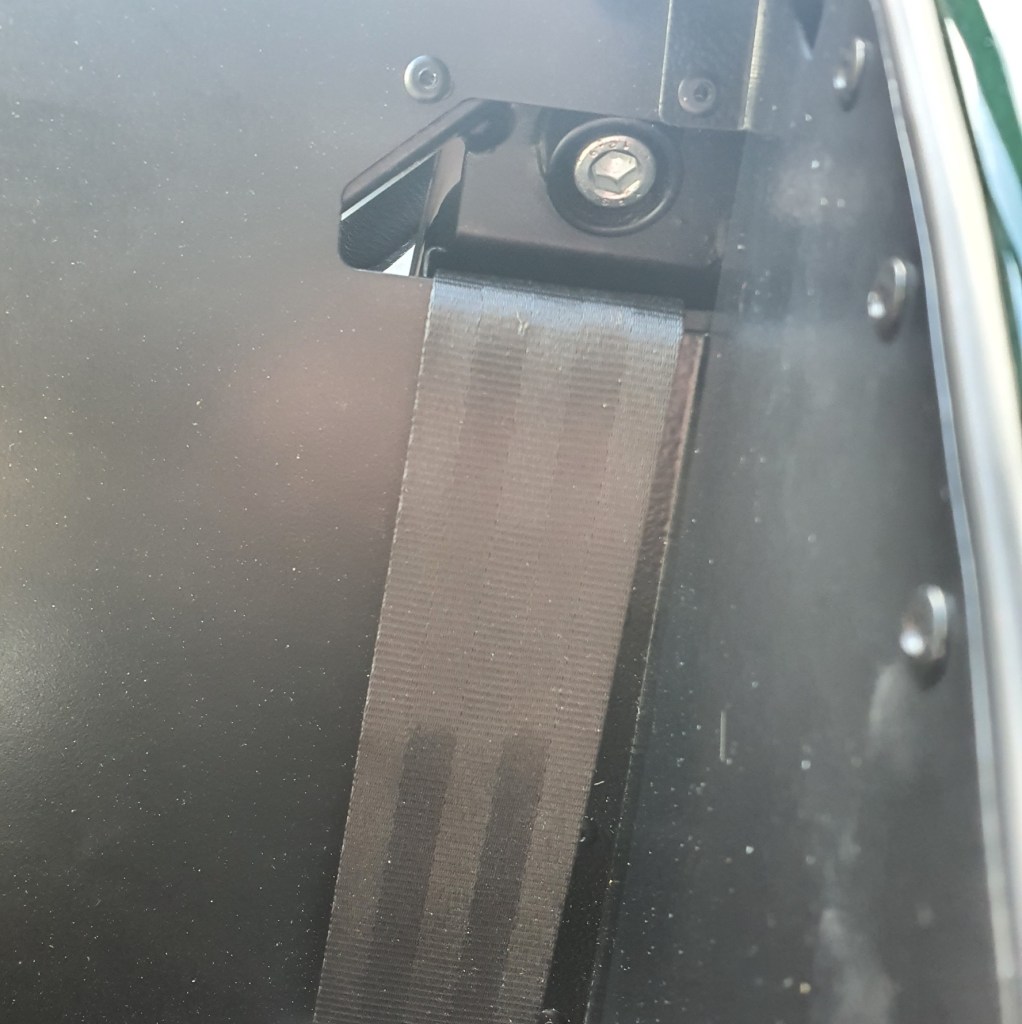
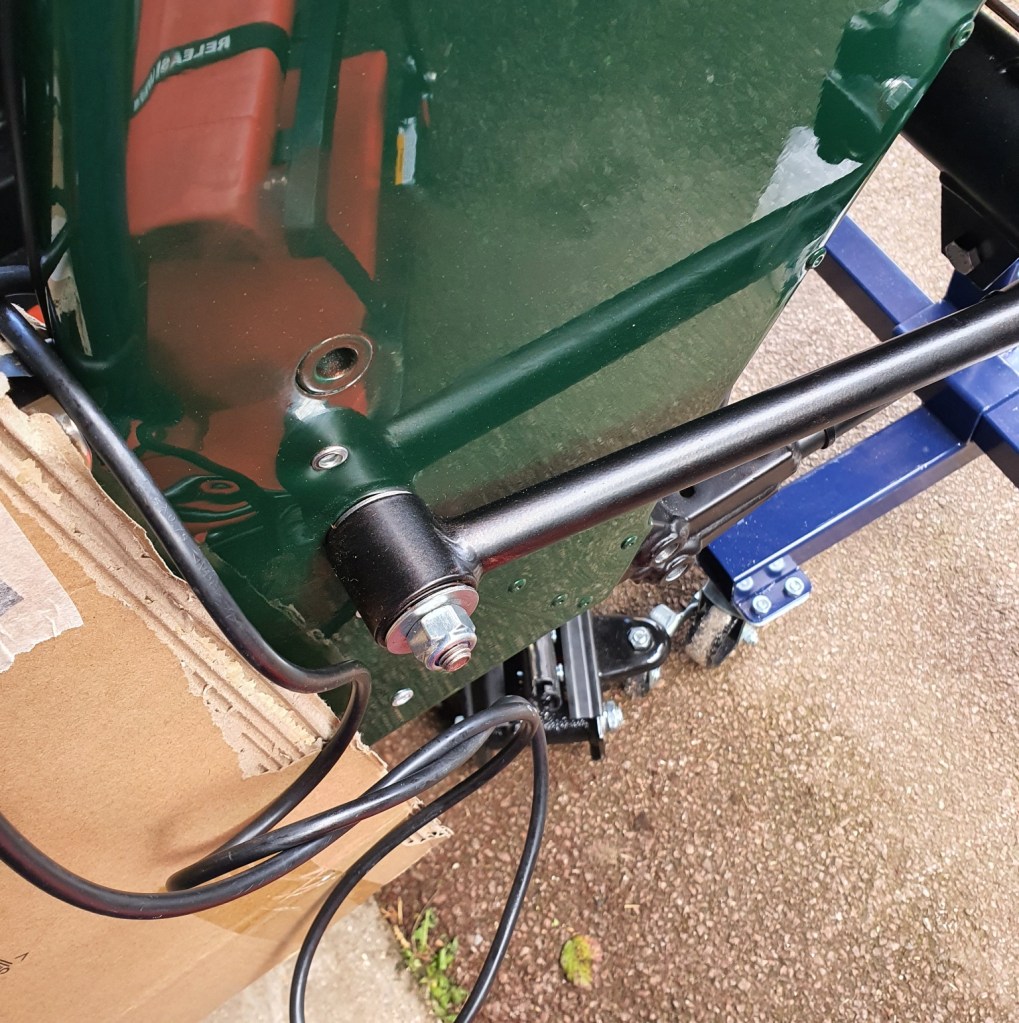
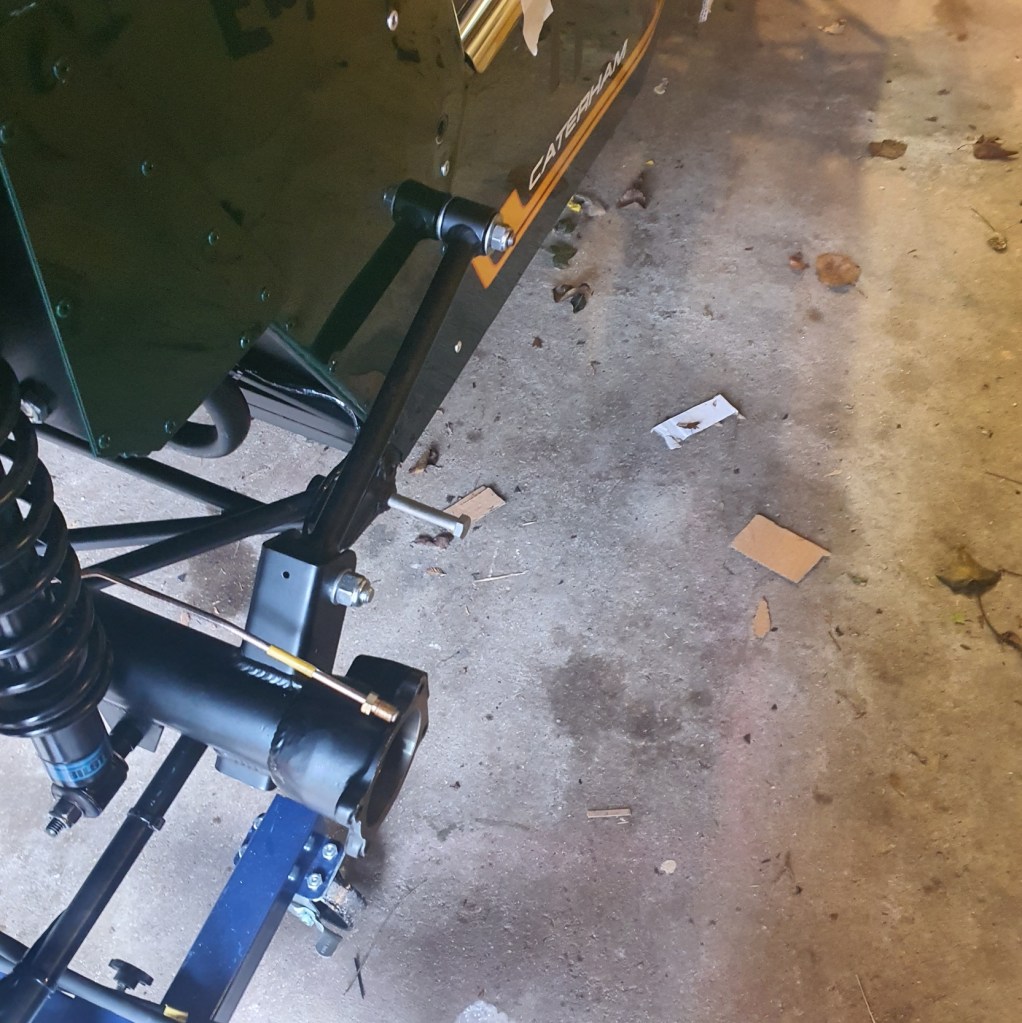
I then got on with the roll cage – the critical issue being that you cant get to the caphead bolt that fixes it from below with the suspension in place. Having done the roll cage, it was on with the radius arm (this goes into the lower of the two holes on the side of the car – as you can probably guess, I am saying that because I got it wrong first time).
At this point, I was panicking a bit with the washers. There are a lot of them and its very difficult to be sure which ones go where. I spent quite a while putting them into different piles and I hope that I have got the right ones in the right places.
Fixing the radius arms to the axle was reasonably easy with the jack there to help align things. Then on went the A frame. The book is not that clear about washers but I think the nylon ones go either side of the fixing of the A frame to the differential. The A frame is also fixed to the chassis which was a bit of fiddle because the holes were partially blocked with paint and needed cleaning out in order to get the bolt through. I will tackle the alignment of this tomorrow (needs some washers fitting to make sure that the axle is central.

I have paused on the rest of the back axle because getting the oil seals in is a bugger. I have tried to find something that could double as a seal drift but the only thing I could find the right size was a glass jar which definitely wasn’t going to survive being hit by a hammer. I therefore have bitten the bullet and ordered a seal drift set. I can sell it on hopefully at the end of the project.
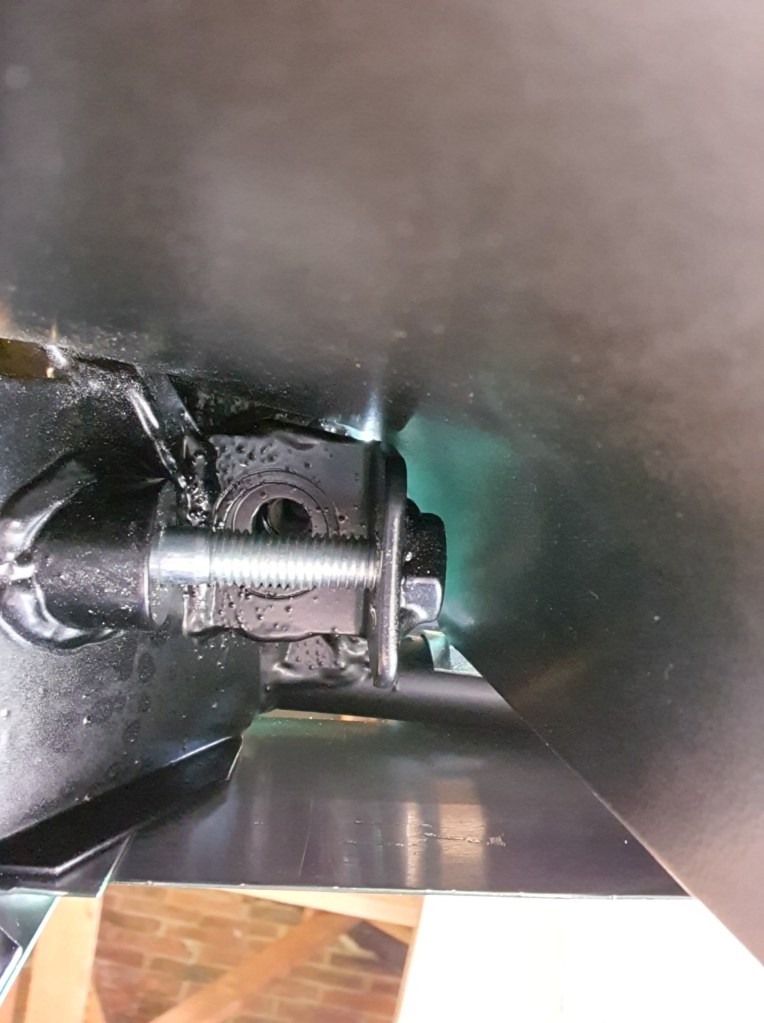
Next on the list was the torquing up of the bolts at the end of the prop shaft. This was a sod of a job because of access. I could only realisicaly get to it from above but even that only allowed a few degrees of movement. I must have been doing each one up at the rate of 1/8th turn every time. My problem was that the amount of movement I had was only just equivalent to one click on the ratchet of the wrench.
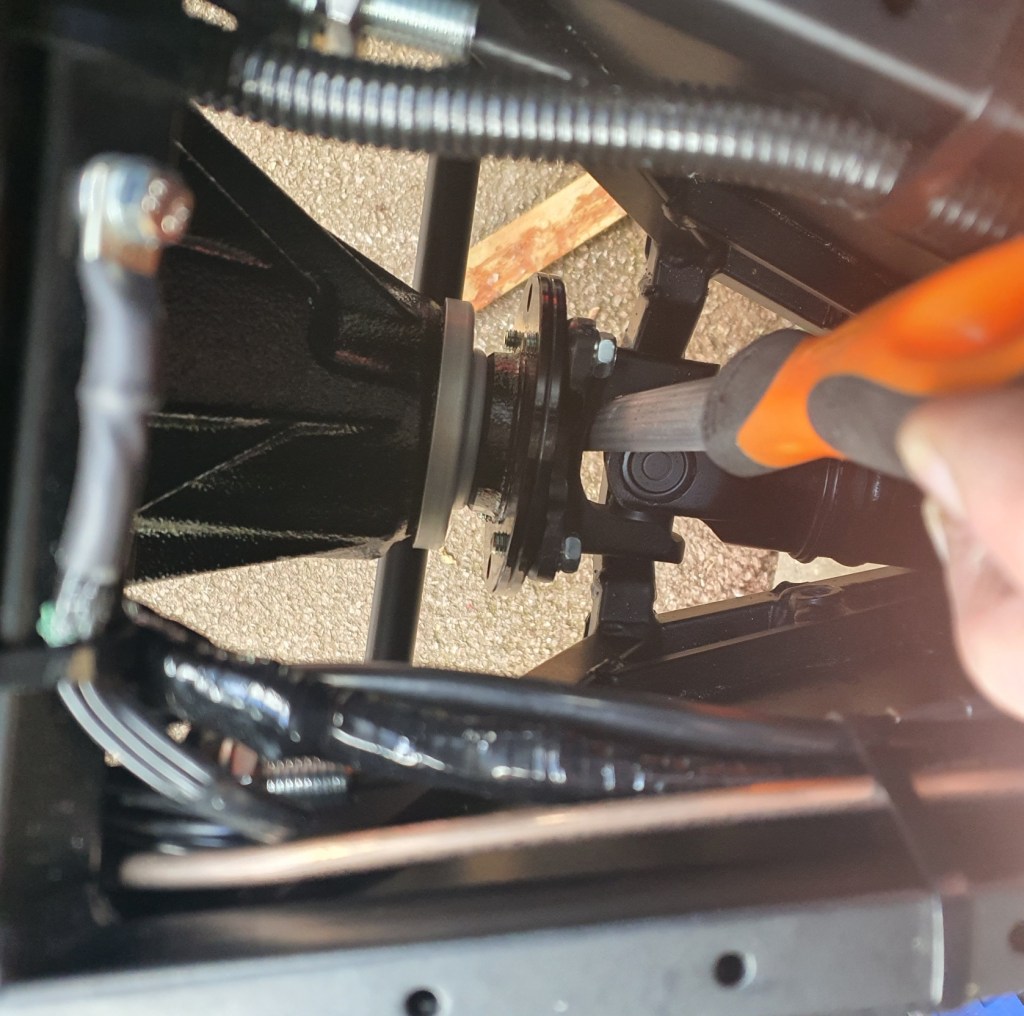
The way I did it in the end was to fix the wrench on the bolt, rotate the prop shaft so that the wrench was up against the sides of the transmission tunnel. Jam the UJ with a file and then pull like buggery on the wrench using my fingertips. Must have taken about 45 mins to do up four bolts.

Leave a comment