Time spent: 3h
Cumulative time: 84h
Main activities: Front wings
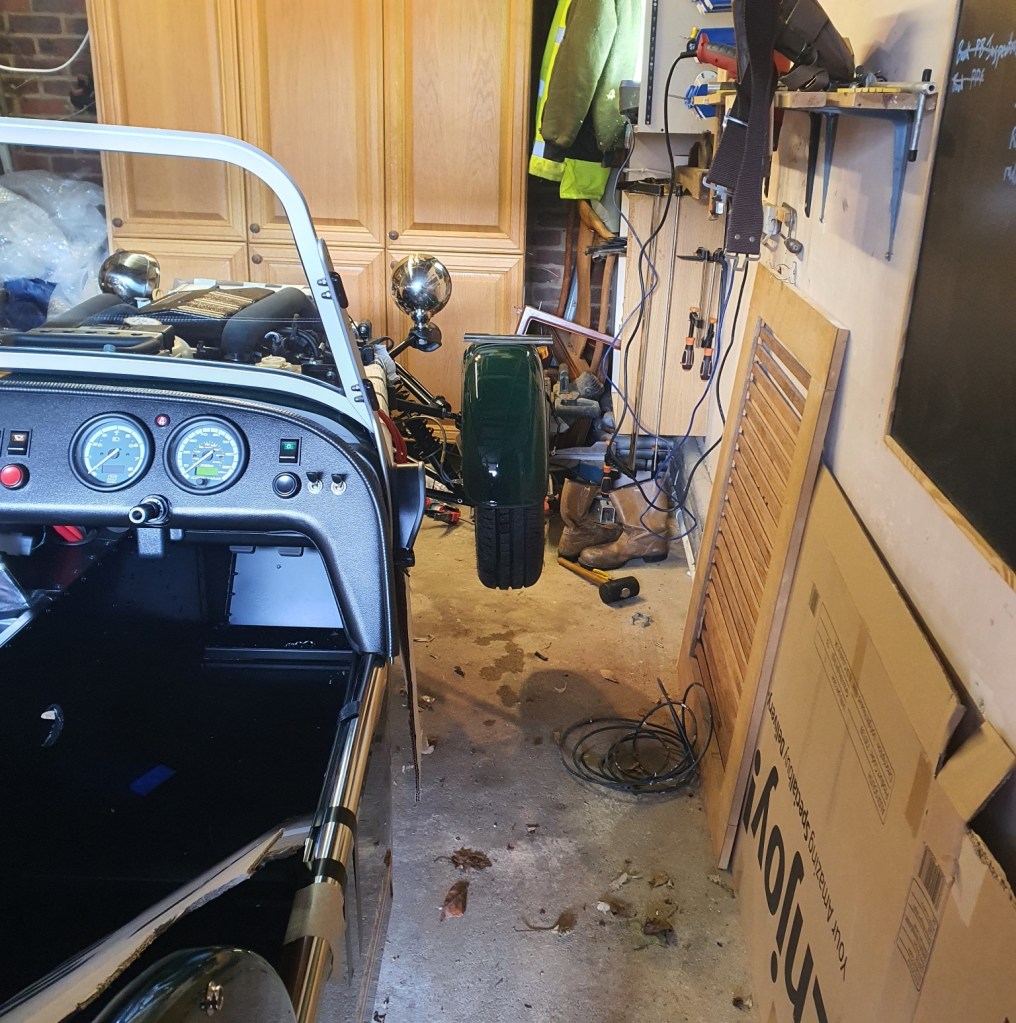
I decided to put the front wings on so that I could finish the wiring at the front of the car. I had been delaying it because of a missing connector in the kit and also because I didn’t want to knock the wings in the cramped garage.
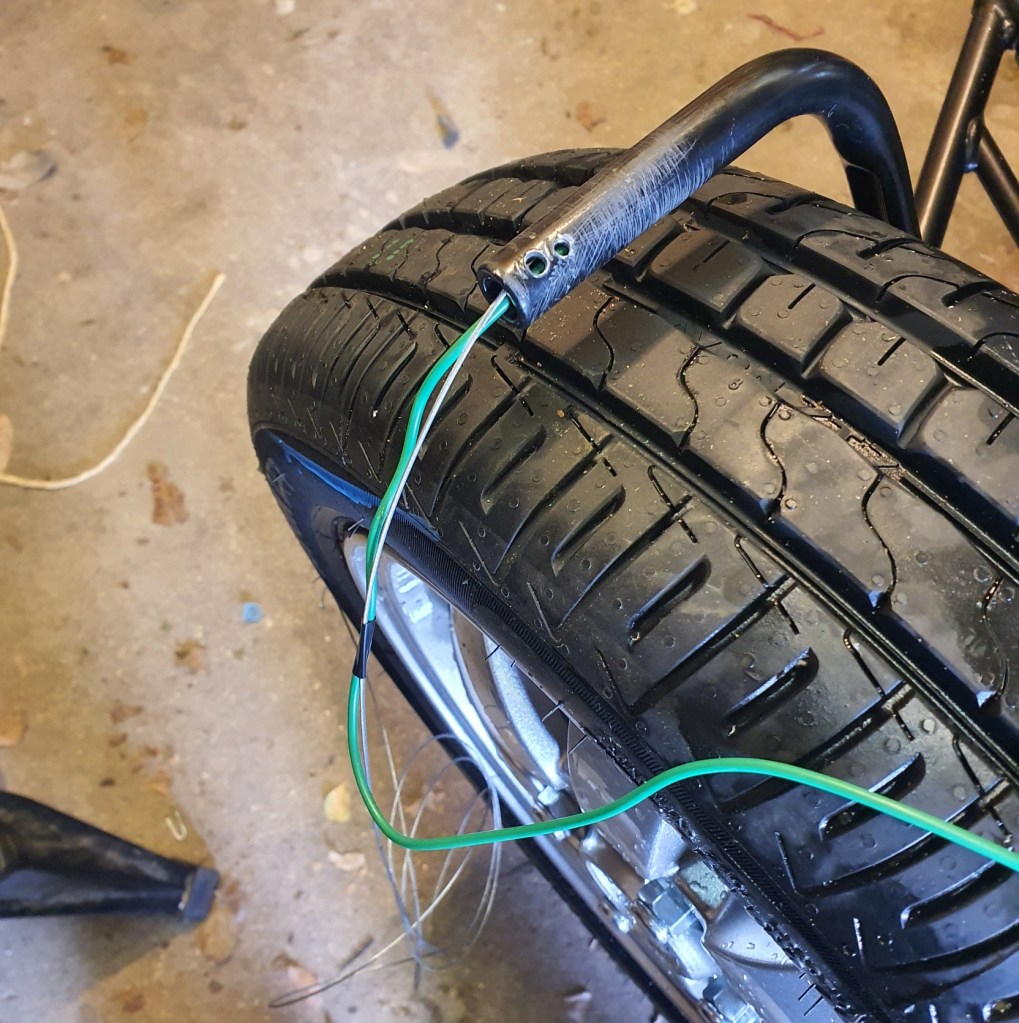
I attacked the horizontal support with some sandpaper to give a bit of a key and posted the green wire from the side indicator into the hole. This was a surprising reversal of normal procedure in that the first one was relatively easy to do but the other wing took a lot more time. I used lots of spray lube on this one and in the end attached a bicycle brake inner cable to the wire to stiffen it up and get it to go around the corner and down the upright. I made the mistake of using black insulating tape to stick the two wires together – making it impossible to see when it had got alongside the hole in the upright that allows the wire to exit.
I eventually managed it and used a small piece of wire to hook the cable out of the hole and pull it through.

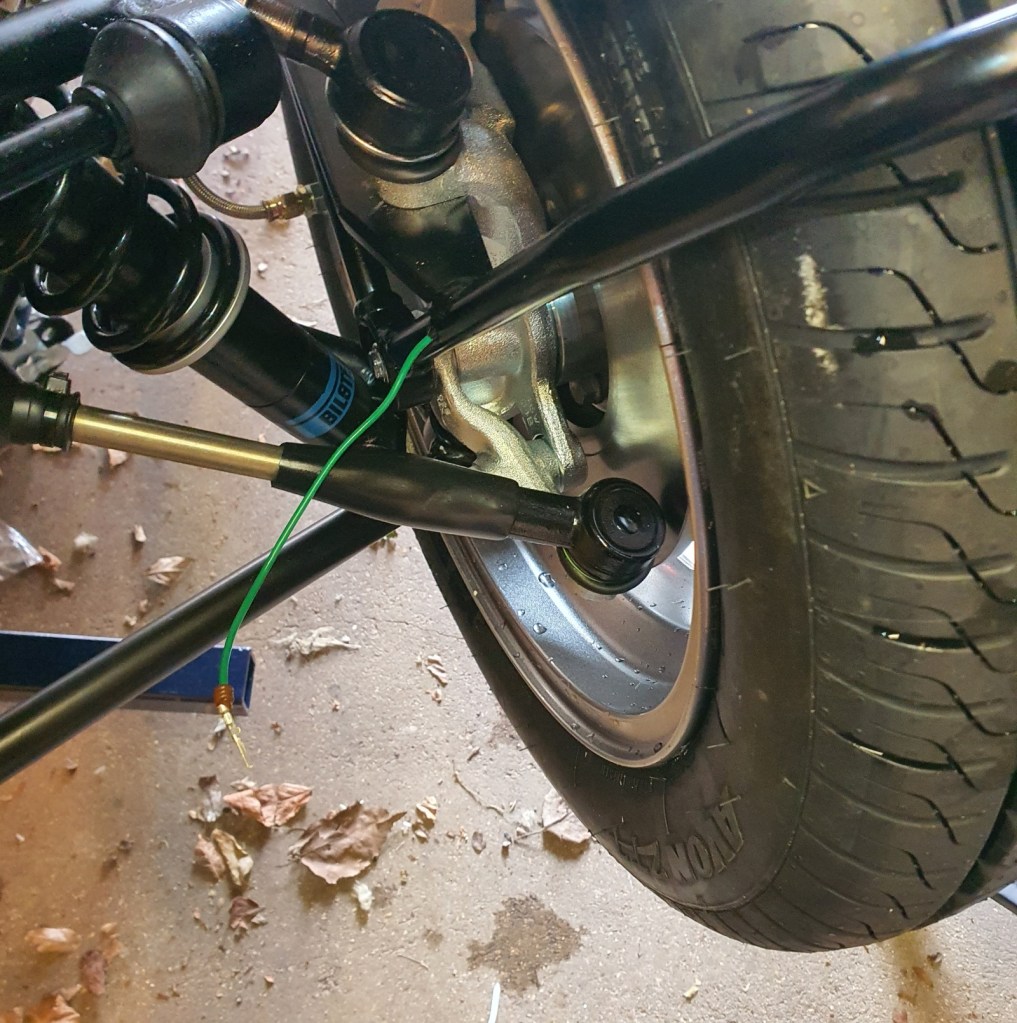
The other worry I had was the screw that is later used to fix the earth from the lights to the wingstay. I thought this could easily cut into the indicator wire in the hollow upright and short everything out. So I made sure that the upper part of the wire was well protected with heat shrink just in case and pulled it to one side whilst I was fixing the earth screw.
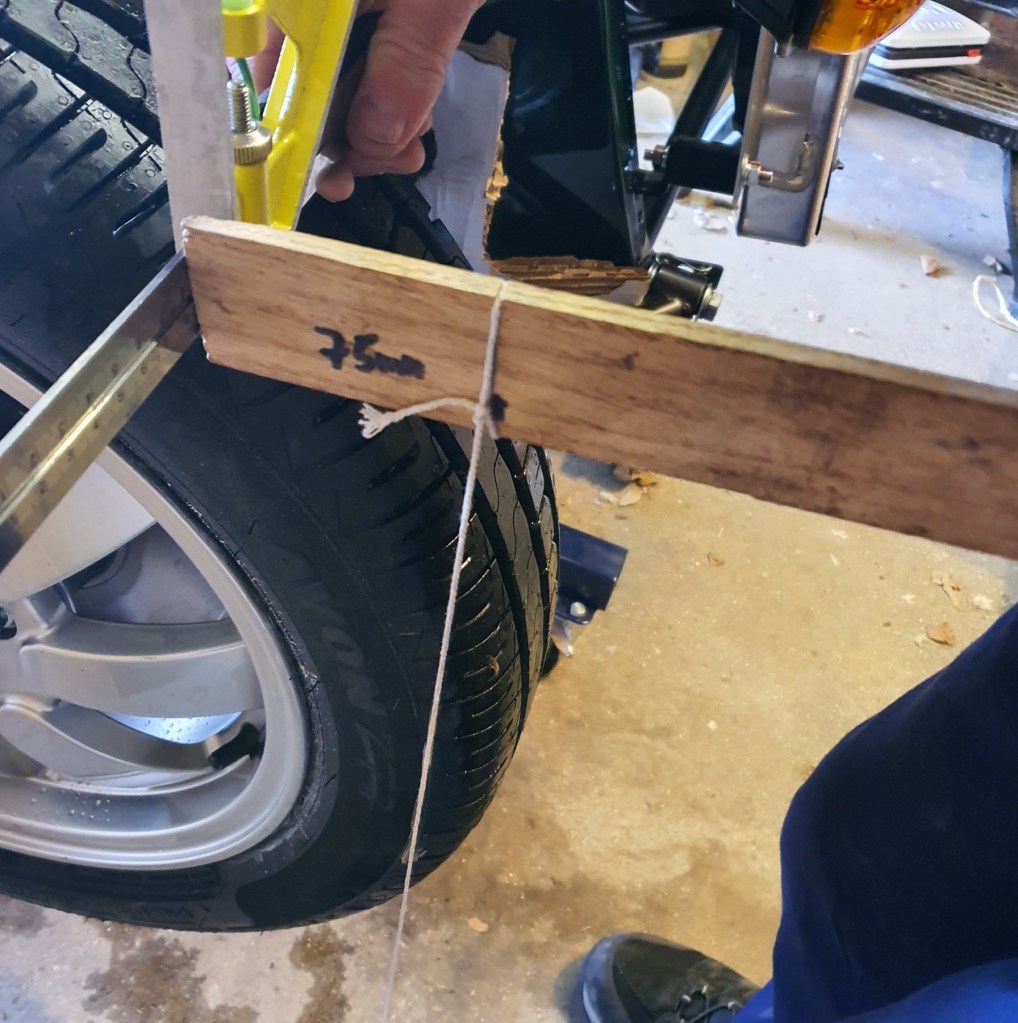
Next was to fix a front wheel on and I noticed that one of the stays was actually touching the tyre so I bent that back to give a reasonable clearance. I then marked the 75mm offset from the front stay on the tyre to help with the fore/aft alignment of the wing. My trusty chalk marker came in handy for this. I also marked the location of the stays relative to the wing on the inside of the wing to help get the positioning right.

I had previously roughed up the inside of the wings with very coarse sandpaper. I also cleaned everything with a damp cloth and ran the hot air gun over everything to dry things.
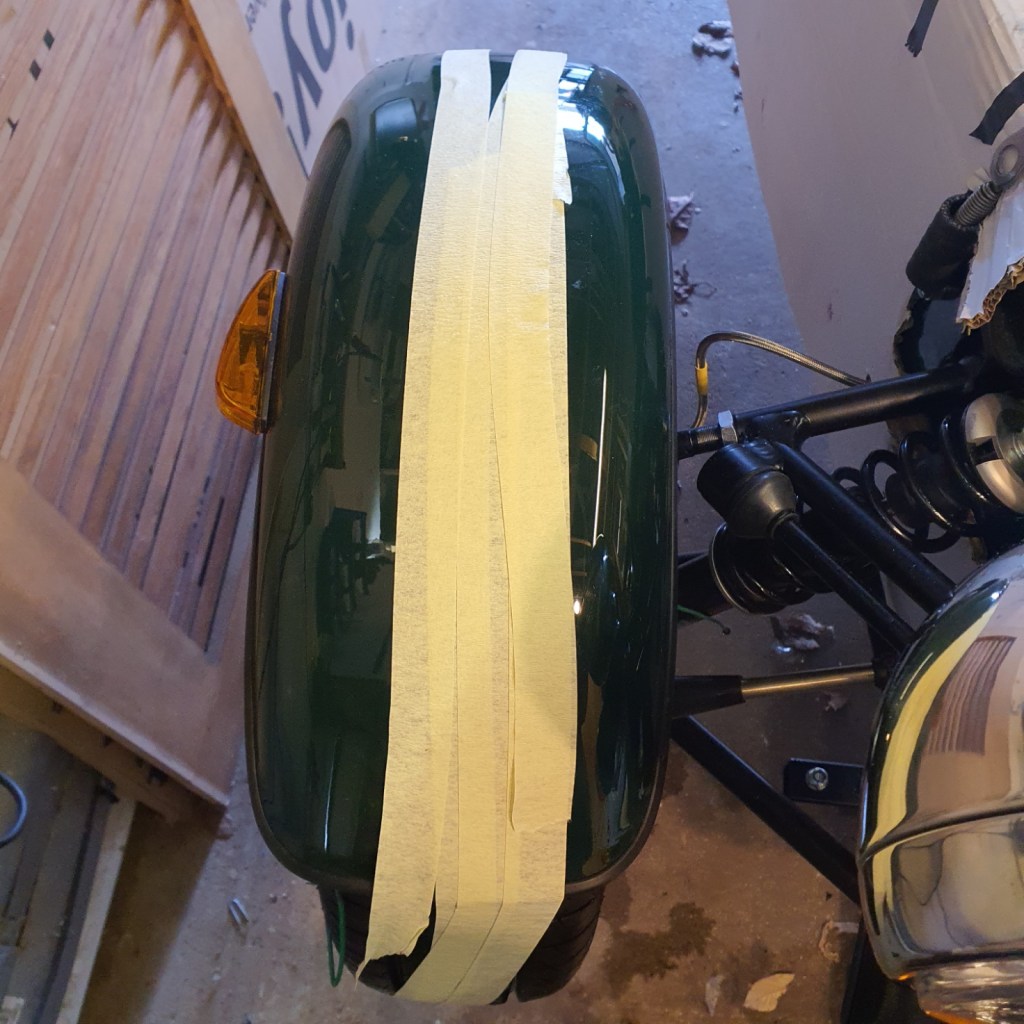
Next up was the glue which came with the kit (although it was initially missing and was sent later) and some final adjustments with the spirit level once the wing was on the glue. And then on goes the masking tape to hold everything in place overnight.

Leave a comment